
I left the lights and electrics to the last part of the build as I was waiting for some carbon fibre parts to arrive. In the end due to shipping delays I ended up installing the the parts that came with the kit and then swapped them out when the carbon items I ordered a long time ago eventually turned up.
The headlights sit on stalks that are fixed to the forward upper wishbone mount. There is a hollow bolt that passes through the indicator pods and then through a bush on the end of the stalk. All the wires have to be passed through the bolt and then fed through the stalk itself. They then come out of the end of the stalk and pass through the wishbone mount. Once through the wishbone mount the wires are gathered together and terminated in an Econoseal connector.
The wire from the indicator repeater passed through the cycle wing stay and then along the upper wishbone into the body where it is joined with the other wires in the Econoseal connector. The connector then plugs into its counterpart on the main wiring loom.
This whole process is repeated on the other side.
Care has to be taken to protect the wires with heat shrink tubing or silicone hose. Rubber grommets have to be fitted wherever a wire or bundle of wires enters or exits the cycle wing stay / headlight mount. A grommet is also required on the upper wishbone mounts (fitted earlier in the build).
There is not a lot of room to work with and patience is needed when feeding the wires through the various tubes. Fitting grommets can be frustrating as you never believe it is going to fit but patience, silicone lube and plastic trim levers helped to manipulate them into place…eventually.

Parts laid out 
Headlight and indicator wires threaded through main bolt 
Protected with tubing and one of the difficult to install grommets 
Cables tidied up 
Assembled ready for mounting 
Headlight support fixes to front upper wishbone mount (note: rubber grommet) 
Headlight and indicator pod mounted 
Cycle wing stay repeater 
Red wire to guide the green through the tube. Black earth wire will be riveted to the wing stay tube 
Earth connection riveted to wingstay and live feed protected with tubing 
Red guide wire needs fishing out 
Another grommet 
Silicone tubing to provide addtional protection along the wishbone 
Carbon fibre headlight bowl 
Light unit bonded into carbon fibre front ring 
Wired up 
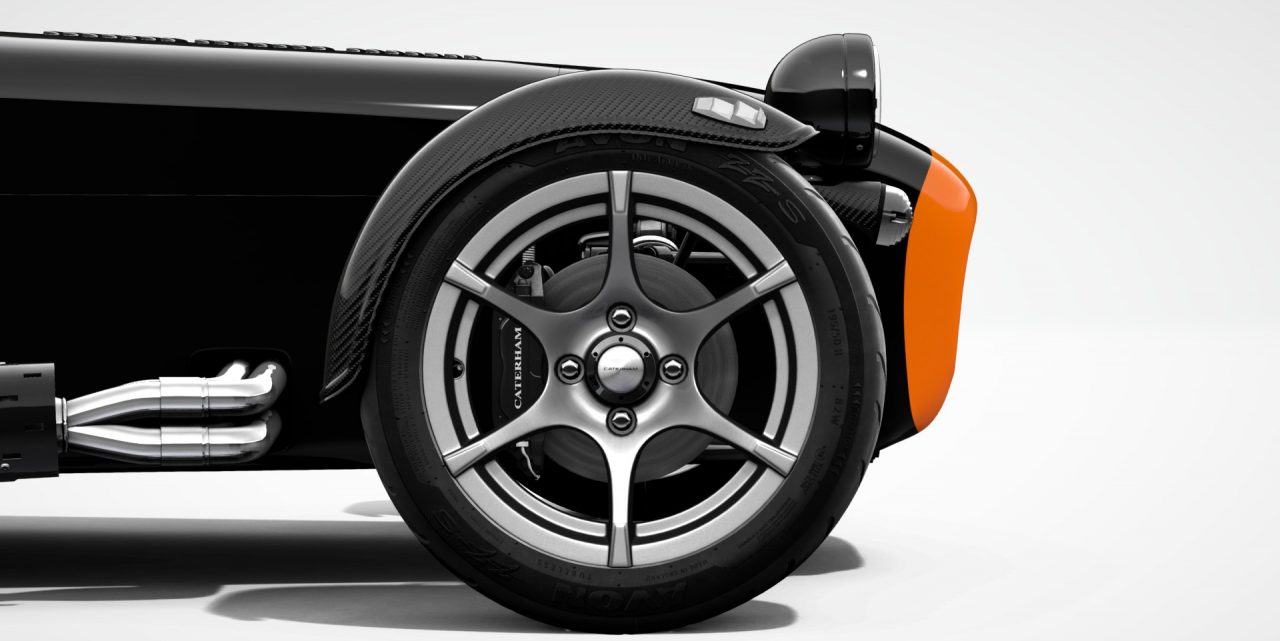
Carbon headlight bowl matches the indicator pod 


Rear light block rubber wedge 
Carbon fibre wedge is 100g lighter 
Another grommet 
Smarter and lighter than the rubber block 
Trial fitted the clear lens (will probably stick with the standard ones on this car)

Carbon fibre headlight bowls in the sunlight 
I connected the battery after all this work and proceeded to test the electrics. Success with the headlights but the indicators failed to work and kept blowing a fuse. After disconnecting and then selectively reconnecting the lights I traced the problem to a short in the left hand indicator pod. Pulling it apart revealed that the spring loaded central connector had come loose and was causing the short, a quick fix with the needle nose pliers and I now had functioning electrics.

Daytime driving lights 
Dipped Beam 
Main Beam

Instruments lit up 
Switch lights 
Standard rear lights
With the electrics all working the last stage is to bleed the brakes and clutch and fill up coolant and engine oil before starting the engine.
