
Rear Wheel Arches: Before fitting the GRP rear wheel arches I sprayed the undersides with Hammerite Underbody Seal to reduce the chance of star cracks in the gelcoat caused by stones flying up from the wheels.
Installation is simple – a length of rubber seal with a piped edge goes between the chassis and the wheel arch and the wheel arches are bolted to the chassis. A small section of the inner rim needs to be opened up with a Dremel to allow the radius arm to swing freely.
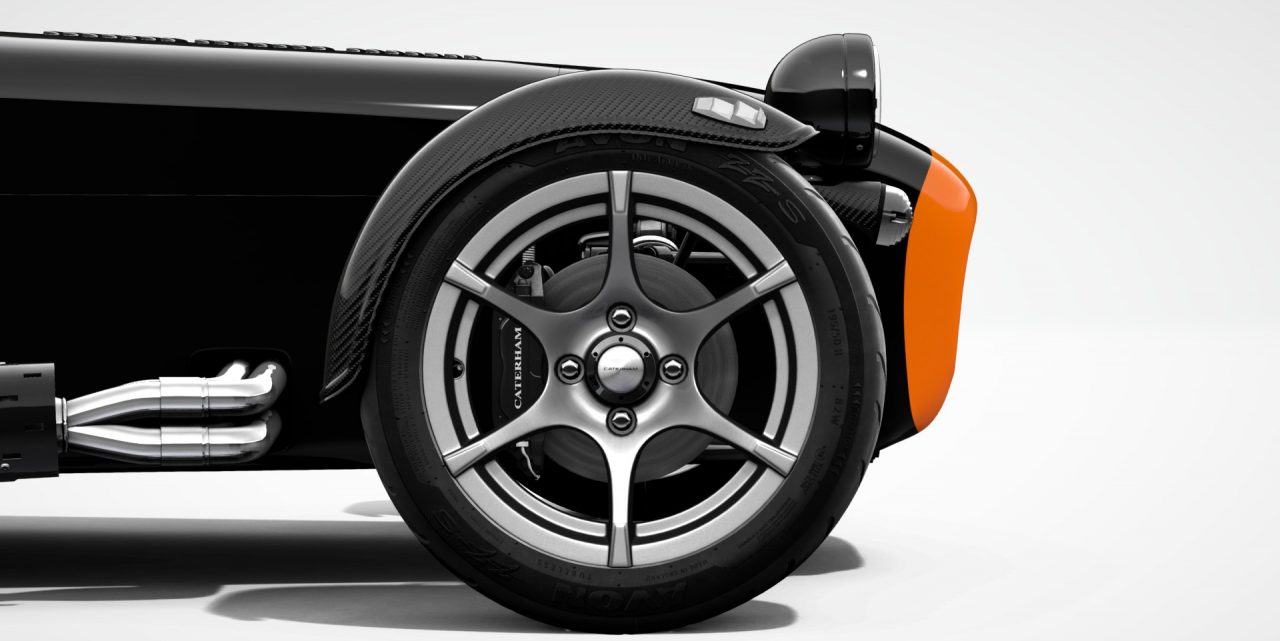
The carbon stone guards are usually fitted with rivets but I preferred to use 4mm bolts to give a neater finish and allow easy removal of the panel when they need replacing.

Front Cycle Wings: The front cycle wings are bonded to the wing stays using the Teroson adhesive supplied with the kit. There are stories of wings flying off with air pressure pulling the powder coat off the metal of the wing stay. To avoid this we removed all the powder coat and roughed up the area to be bonded with a file. The wings are installed in two stages:
- A ‘sausage’ of adhesive is applied to the top of the wing stay and the cycle wing carefully positioned and held in place overnight with masking tape to allow the adhesive to cure. Care needs to be taken to ensure the cycle wings are level and the leading edge is in front of the wheel rim (we used a plumb bob to check this).
- More adhesive is applied around the original bond and smoothed over. I made sure the adhesive wrapped around the whole wing stay tube.


