The first point is that the prop-shaft and handbrake need to be installed before attempting to fit the differential.
The second point is that the differential is very heavy and awkward to fit so two pairs of hands are really helpful.
Prop-shaft: The splined collar on the prop-shaft needs to be inserted into the gearbox. This requires manoeuvring the prop-shaft through the tunnel which is a tight fit at a point just behind the handbrake mounting bracket. The only way is to get it past is to make sure the flats of the UJ are aligned with the side of the tunnel and then give it a firm push. The splined collar needs to be inserted into the gearbox and mated with the output shaft. Once this is done the prop-shaft can be left alone until the differential has been fitted.


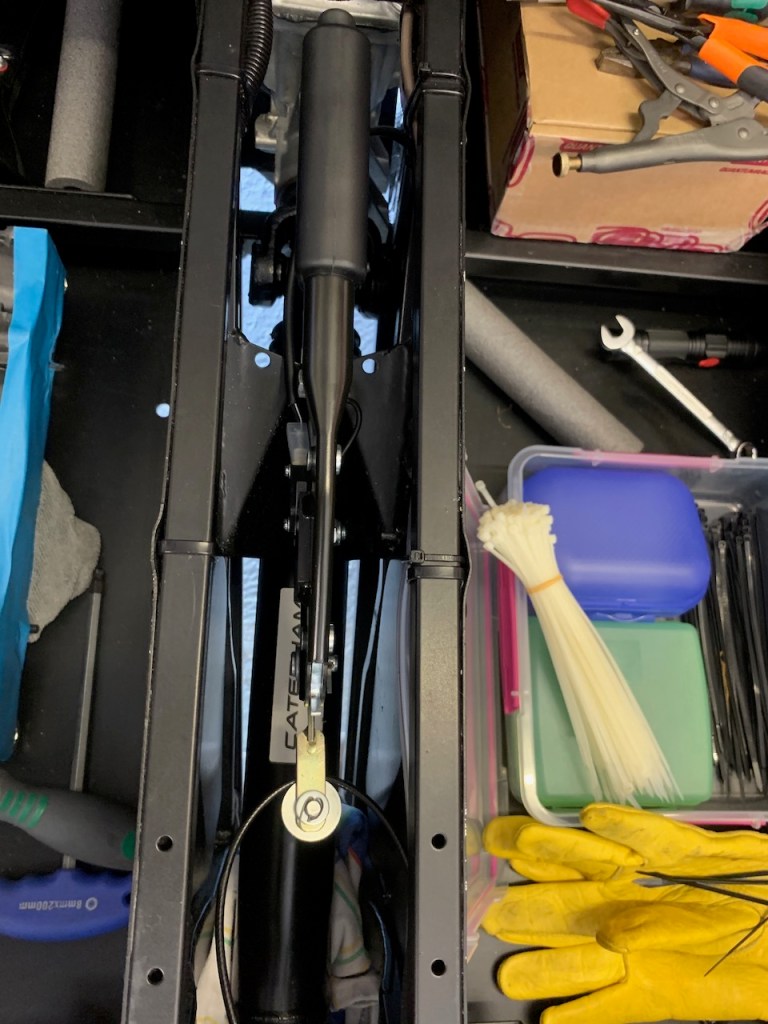
Hand-brake: The handbrake consists of the handbrake handle, the outer/inner cable, clevis, clevis pins, pulley, split pins and fasteners. In other words make sure you have all the pieces to hand before attempting the installation. The parts are spread across several bags and the split pins in particular are quite thin and easily mislaid (I found them in the miscellaneous fasteners bag).
Differential: I do not have too many pictures of the installation because it was quite difficult and Michael and I literally had our hands full for most of it.
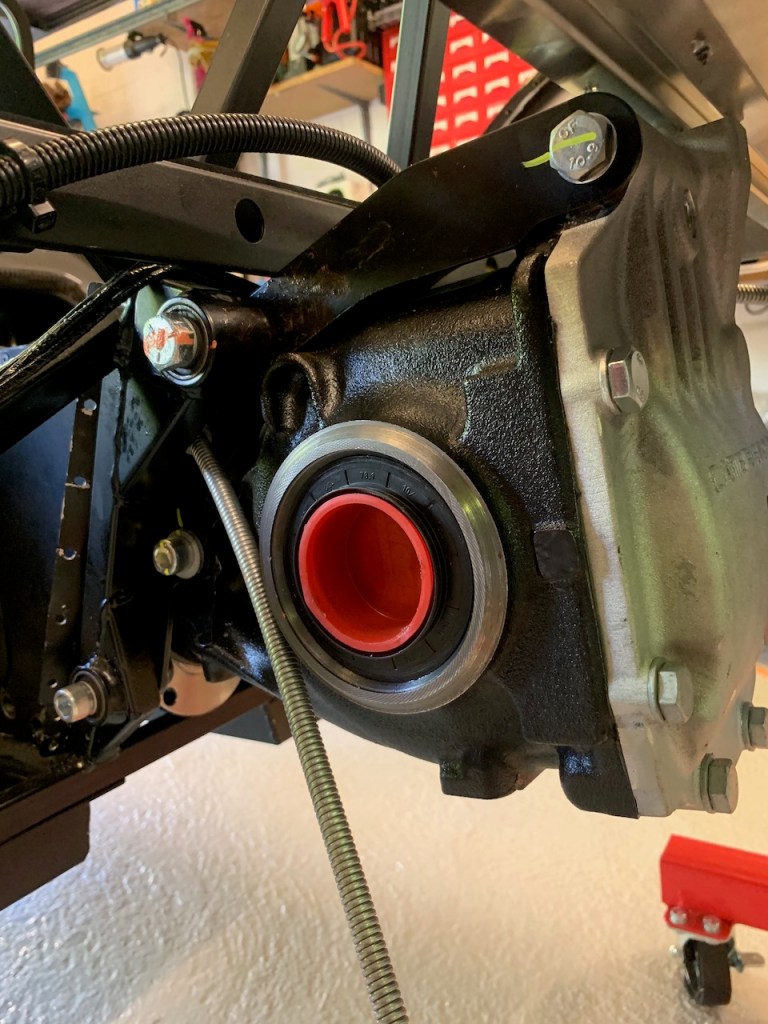
In theory it sounds simple: attach differential to the chassis with two bolts at the bottom and a long one at top using spacer washers to centralise. In practice the differential is a very heavy lump that needs to be precisely aligned to allow the tightly fitting bolts to pass through the bushings. In addition the differential must be evenly spaced in the chassis and there must be no gap between the chassis bushings and the differential cage. This requires the insertion of several washers of varying thicknesses in between the bushing and the cage. The washers come in 3 sizes: thick, thin and shim. I found that we could fit no more than 3 thick and one shim each side.
We made up the washer packs with the same spacing left and right / top and bottom. The difficulty is in inserting the washer pack into the tight gap between the bushing and the differential and then getting everything lined up accurately enough into order to get the bolt through. We started with the bottom bolts and used a combination of pin punches to align the washers and trolley jack to manoeuvre the differential into place. The bolts are also a very tight fit even when everything is aligned so plenty of copper grease and firm hits with the nylon dead blow hammer were necessary to drive them home.

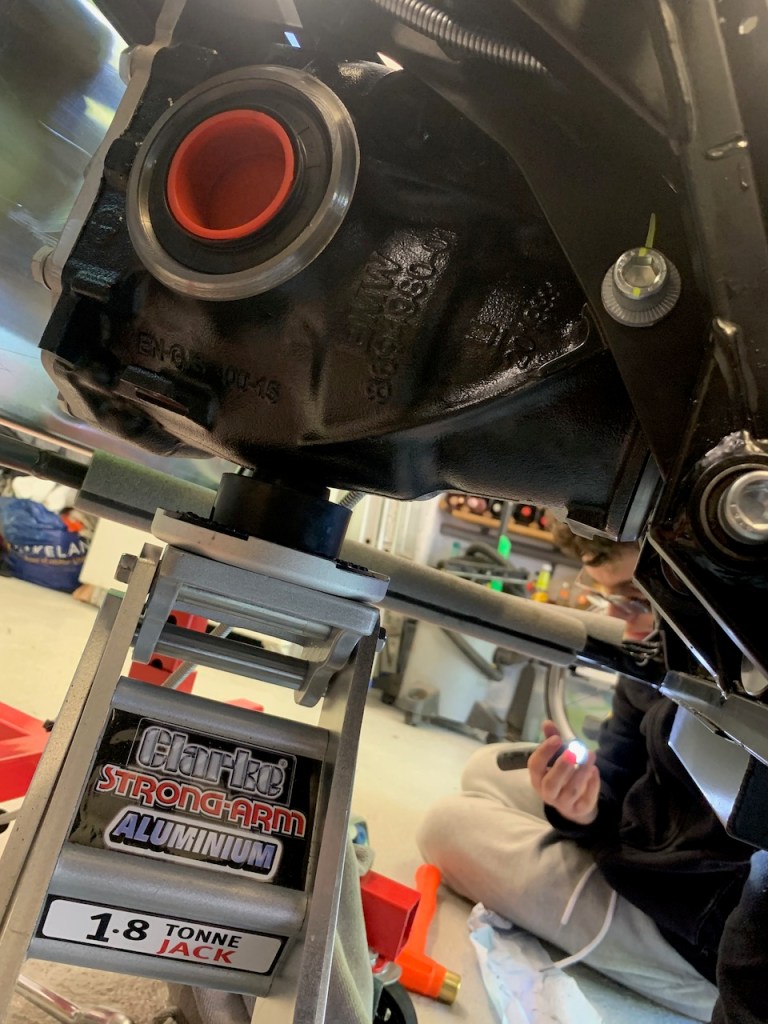

We applied the same technique to the very long top bolt but in this case I ground a little more chamfer into to the tip of the bolt to help it through. The reason you have to insert the prop-shaft before beginning this part is that it is impossible to do it afterward and you do not want to take the diff off again once it is fitted. Similarly the handbrake cable runs either side of the diff and it would be impossible (or at least extremely difficult) to pass the through the locating brackets with the diff in situ.
The last job was to attach the propshaft to the differential using the four cap-head bolts. We threadlocked the bolts and then torqued them up.
The whole process of fitting the differential took all afternoon.
