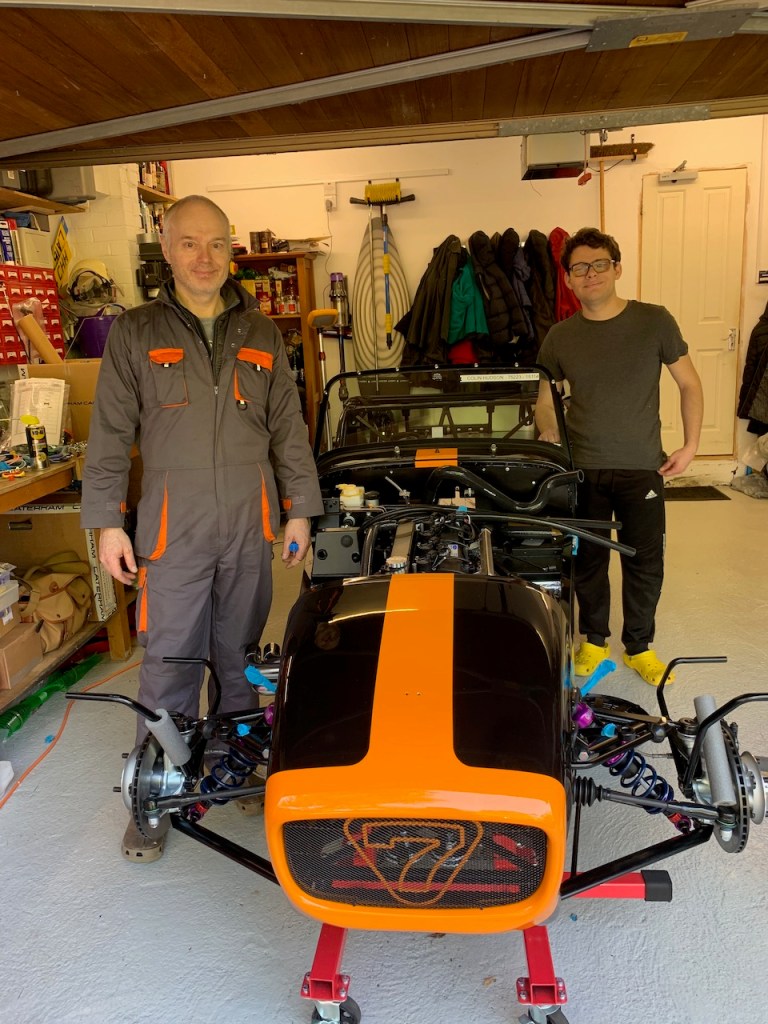

We are in week 3 of the Coronavirus lockdown and it is Easter Weekend, the weather is nice for once but we are all confined to our homes. This is an opportunity to crack on with the build and so we got on with the installation of the dry-sump, expansion and breather tanks.
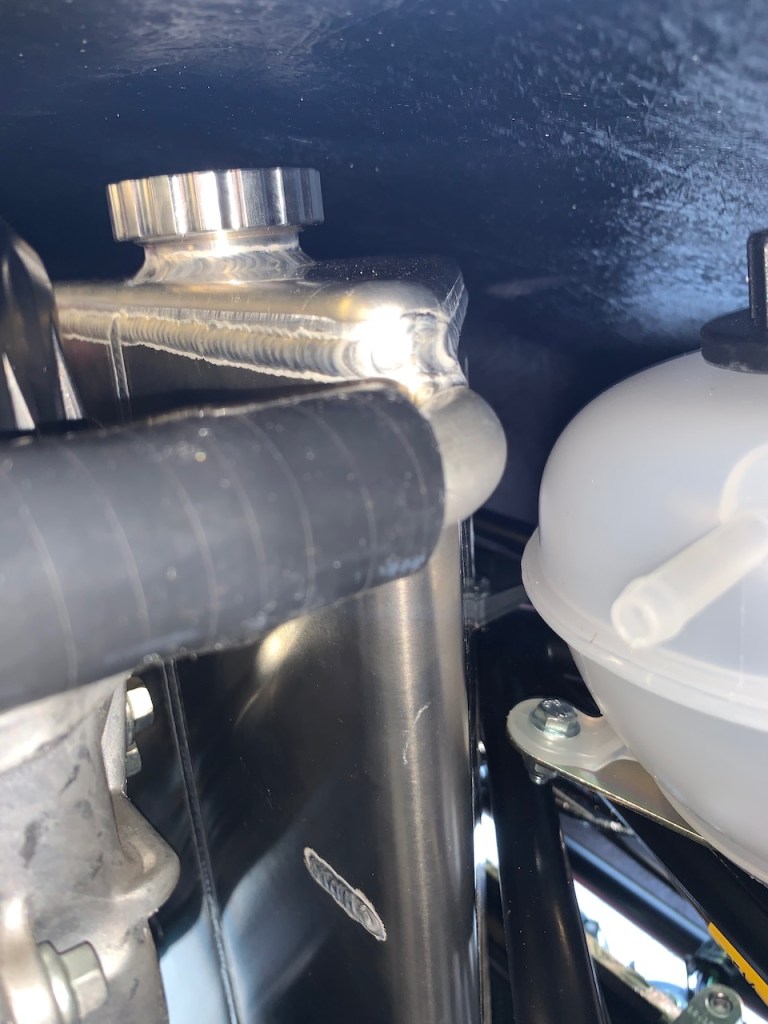
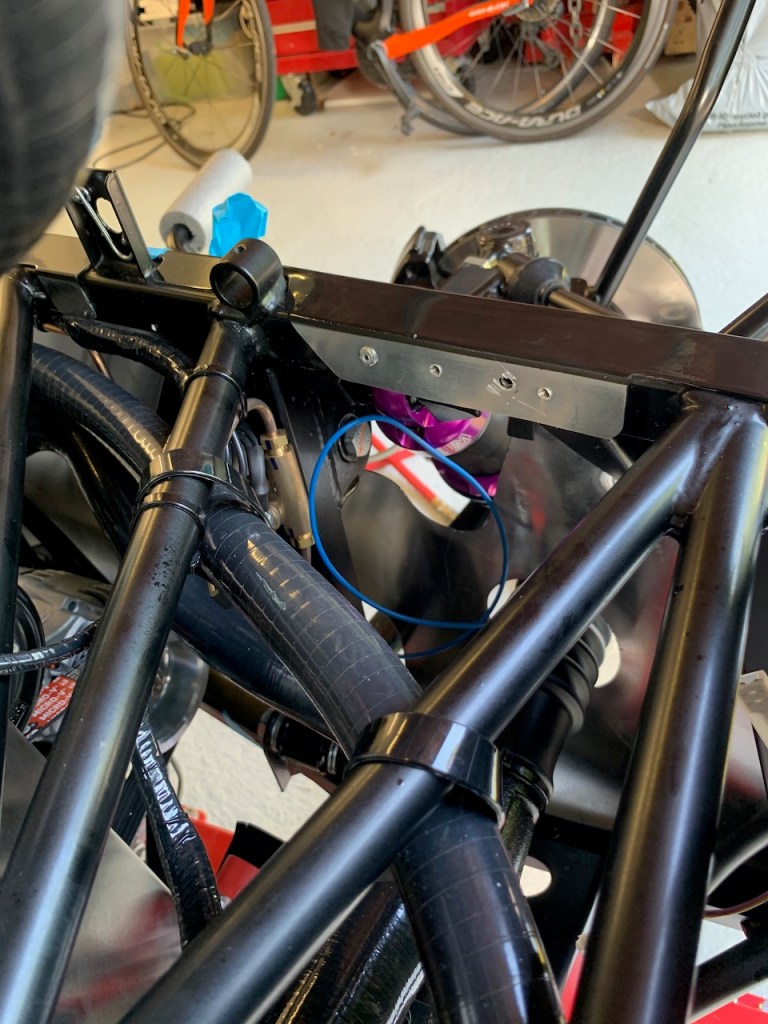
Dry Sump Tank: This is a rather large triangular stainless steel tank that fits in front of the engine. It is shaped to fit into ‘V’ of the cross-brace and is fastened with two P-clips at the bottom and a set-screw and spacer washers at the top. The chassis is already drilled and tapped at the top mount and apart from moving part of the wiring loom out of the way went in without a problem. It is important to remember to fit the temperature sender in bottom of the tank with PTFE tape to avoid any leaks. Whilst there is no separate oil temperature guage there is provision in the loom for the sender and a switch can be fitted to toggle the water temperature guage between oil temperature and water temperature if so desired.

UPDATE: Although the oil tank has a dipstick the nose cone has to be removed to use it which is a little inconvenient and checking the oil is probably the single most important precaution against engine wear. I will have this modified to install a sight tube in the rear of the tank so the oil level can be visually checked just by removing the bonnet. The tank will also be anodised black for cosmetic reasons.
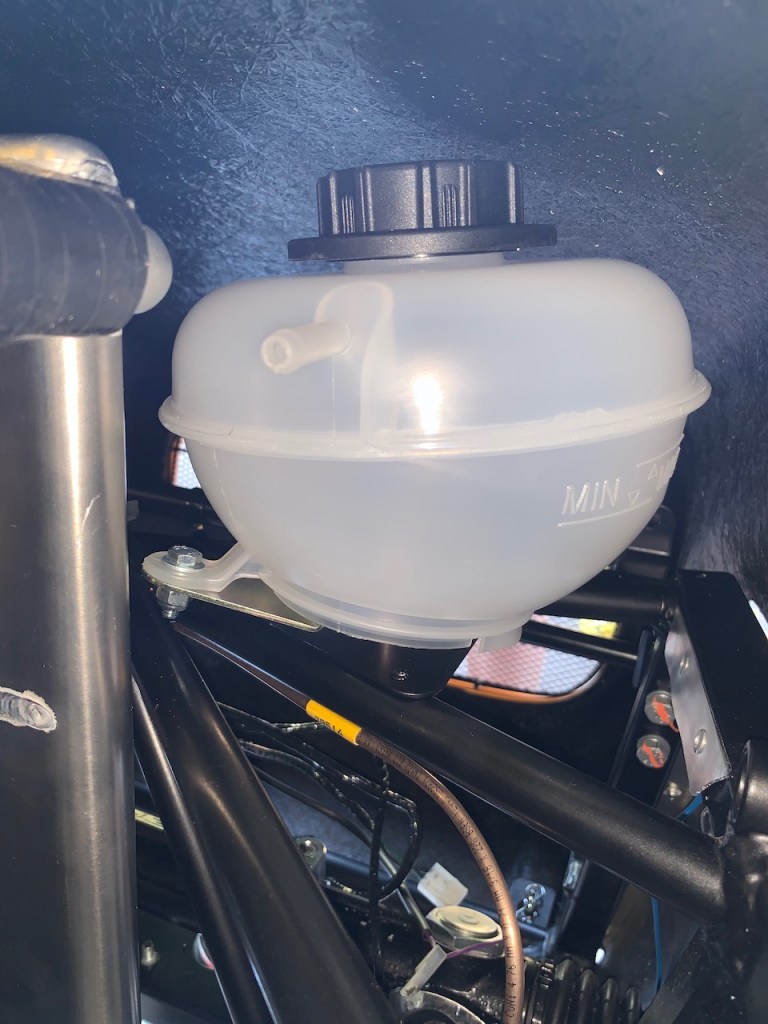
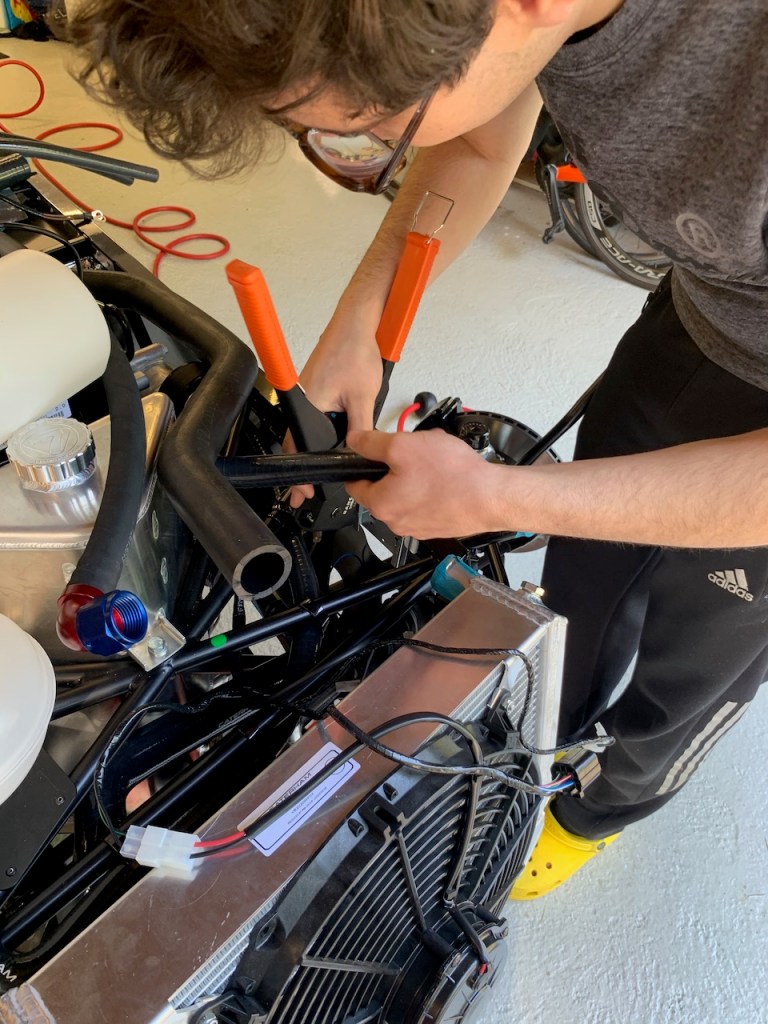
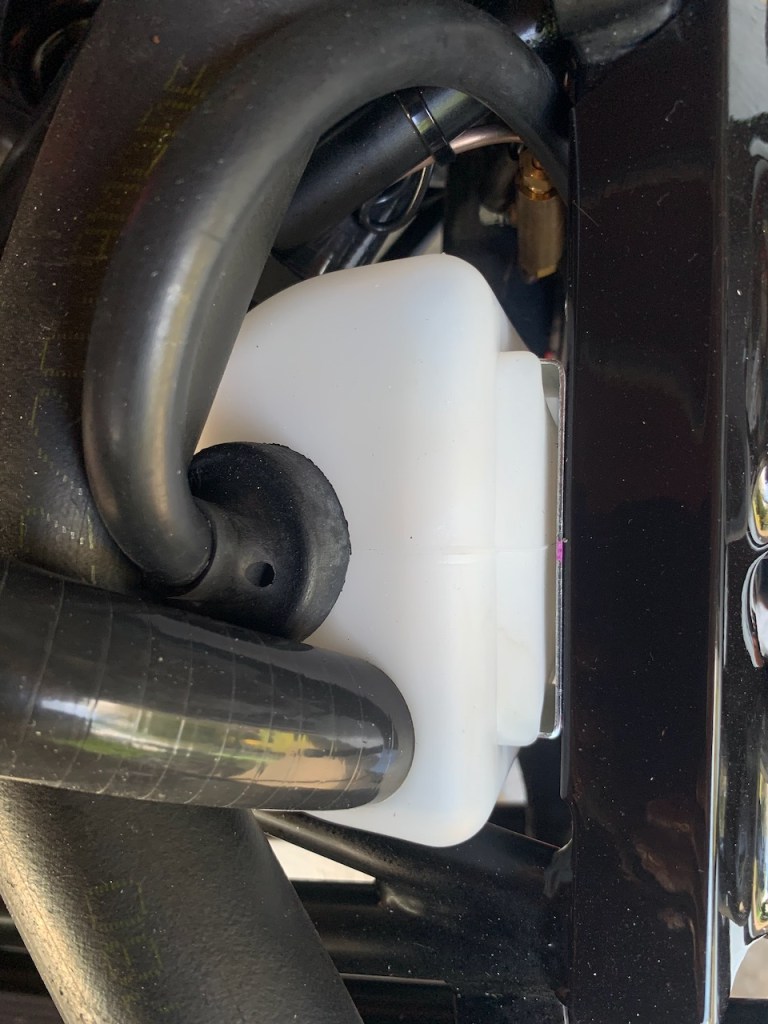
Expansion Tank: The coolant expansion tank fits onto the front right hand side of the chassis just in front of the dry-sump tank. A chassis mounting plate needs to be riveted to the cross brace which requires four holes to be drilled. Thankfully this part went without too much drama and we got all the rivets in (it is difficult to drill 4 accurately spaced holes into round tubing but after a lot of measuring we ended up not perfect but close enough that all the rivets engaged properly). The expansion tank has its own mounting plate which is bolted to the chassis plate. The expansion tank mounting plate needed a bit of work with a Dremel and carbide burr to get the bolt to pass through.

Breather Bottle: The oil breather tank is located on the left hand side of the chassis in front of the damper mount. The mounting plate for the breather bottle needs to be riveted to the chassis rail and this requires a rivet to be drilled out and two new holes drilled. I used the air powered angle drill for this as it is the smallest drill I have. The breather bottle needs to have a hole drilled into its top corner in order to accept the breather hose from the oil take – I used a step drill bit for this to give a clean finish.
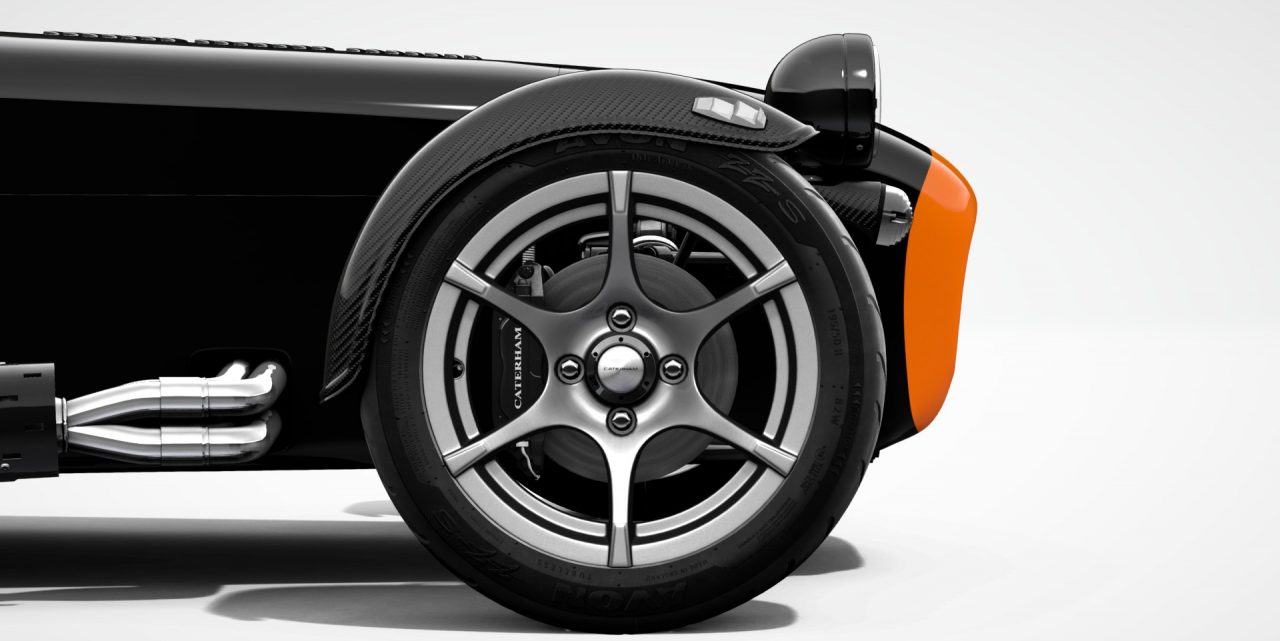
This gave us an opportunity to trial fit the nose-cone to check for clearances – all OK.