
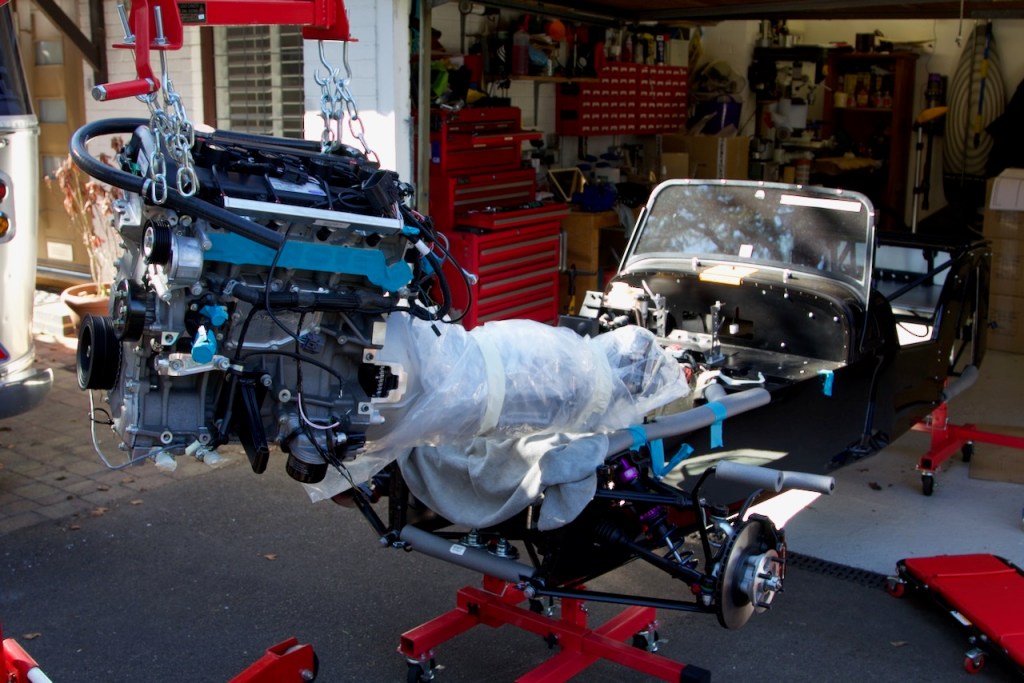
The engine installation took place without any drama. Luckily the weather was perfect so we pulled the engine crane with suspended engine & gearbox onto the drive and rolled the car forward on its mobile axle stands.
The mobile axle stands definitely come into their own for this part of the build but there are a couple of points to pay attention too. First of all the front of the car should be lowered as this improves clearance and secondly the front axle stand struts need to be as close together as possible to allow the car to move close to the engine crane (if the struts are two far apart the stands will foul the legs of the engine crane). It is also worth noting that we had the engine crane on full extension where it is rated to handle 250Kg (I understand the engine + gearbox to be around 180Kg so this is well within capacity).
We also protected the chassis with foam pipe lagging and wrapped the gearbox in the plastic bag it came in as it is a really tight fit in the transmission tunnnel and very easy for a sharp edge to tear the heat insulation.
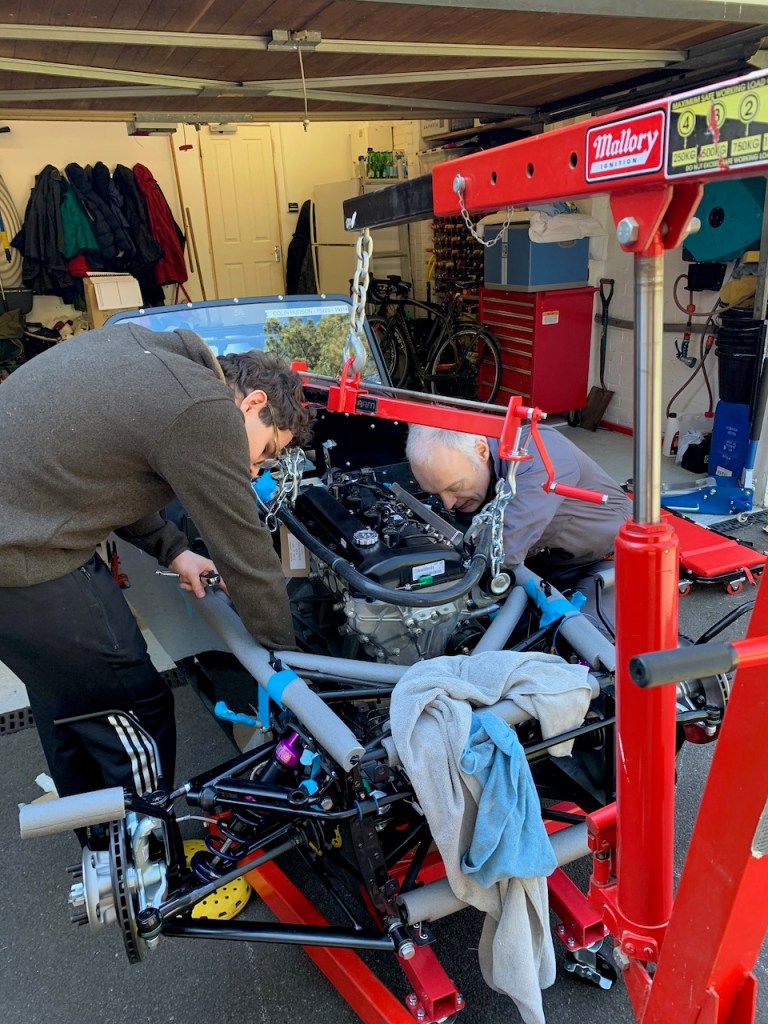
The installation itself is all about moving in small steps, either height, reach or angle, taking care at all times that the engine does not foul the chassis and most importantly does not trap any fingers as it is gradually lowered into place.
Gearbox wrapped 
Some adjustment of the hoist straps removed a lot of the tilt 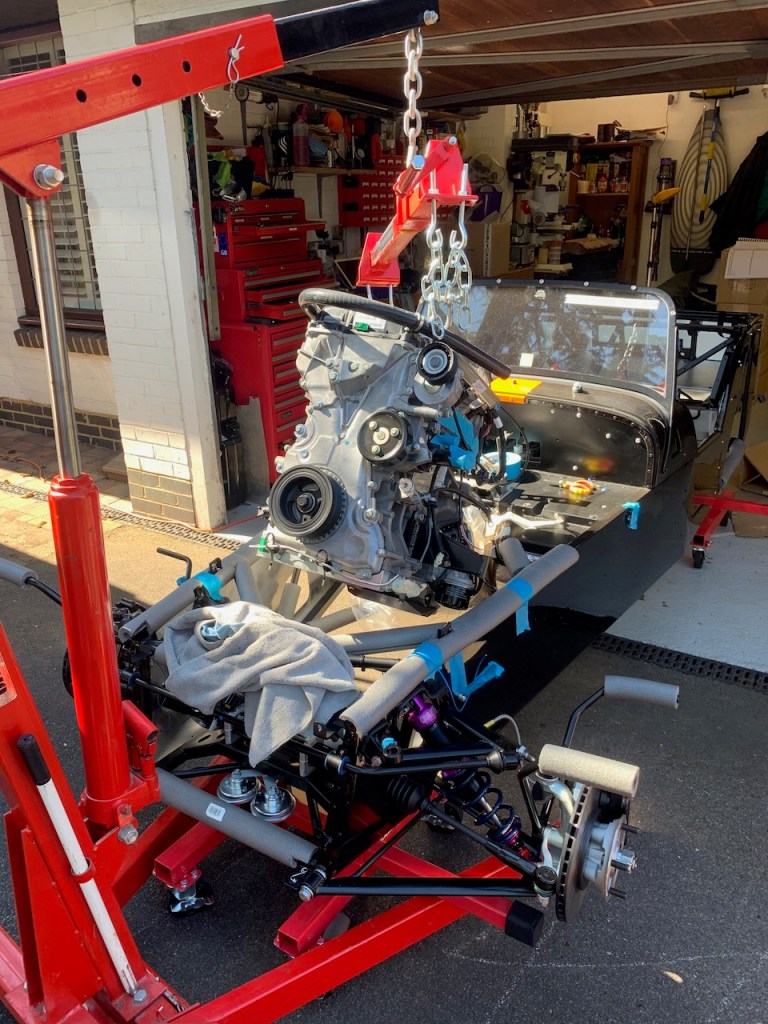
First stage quite easy

Millimeter by millimeter from this point 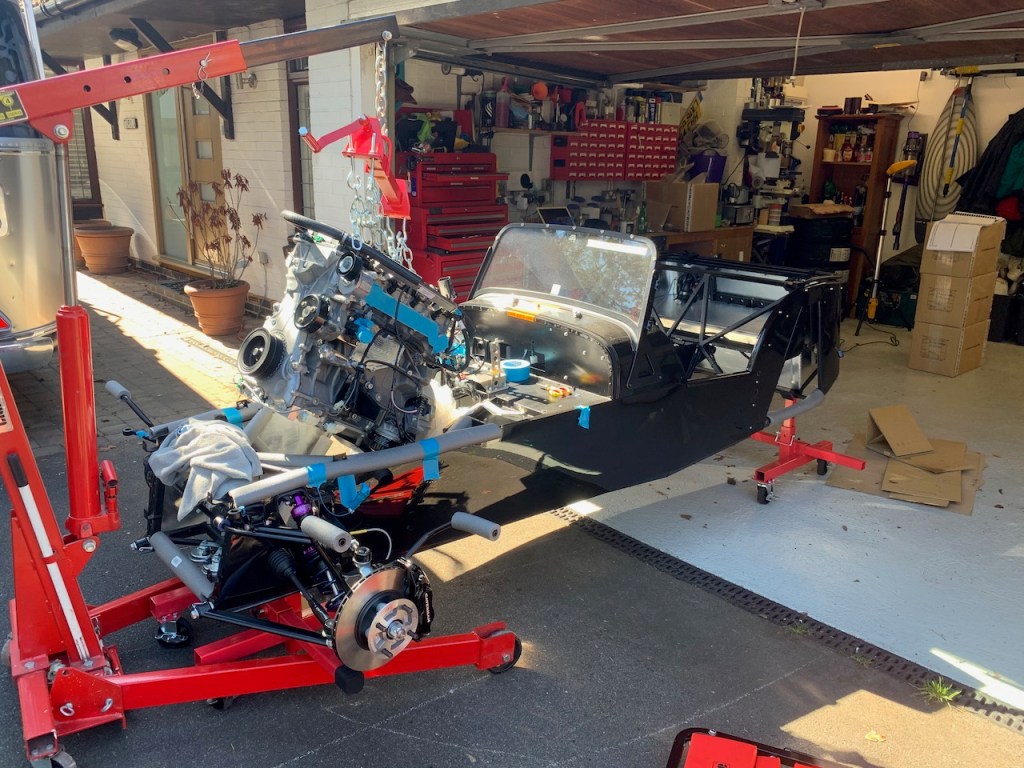
Load leveller proving really useful 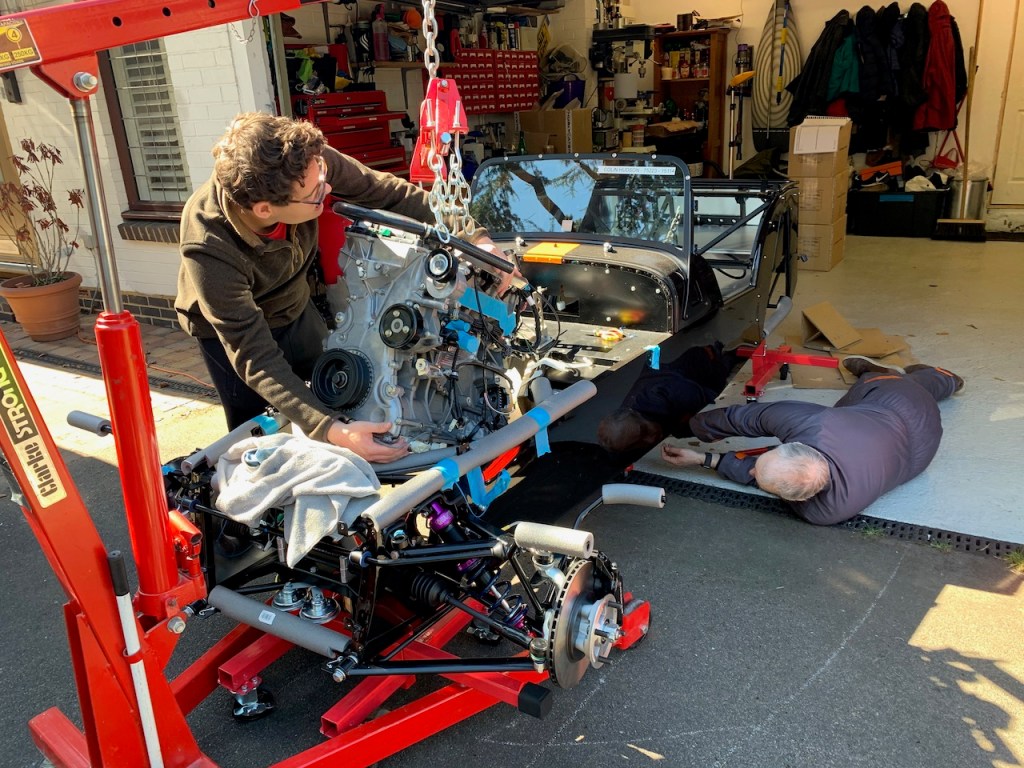
Checking gear box clearance 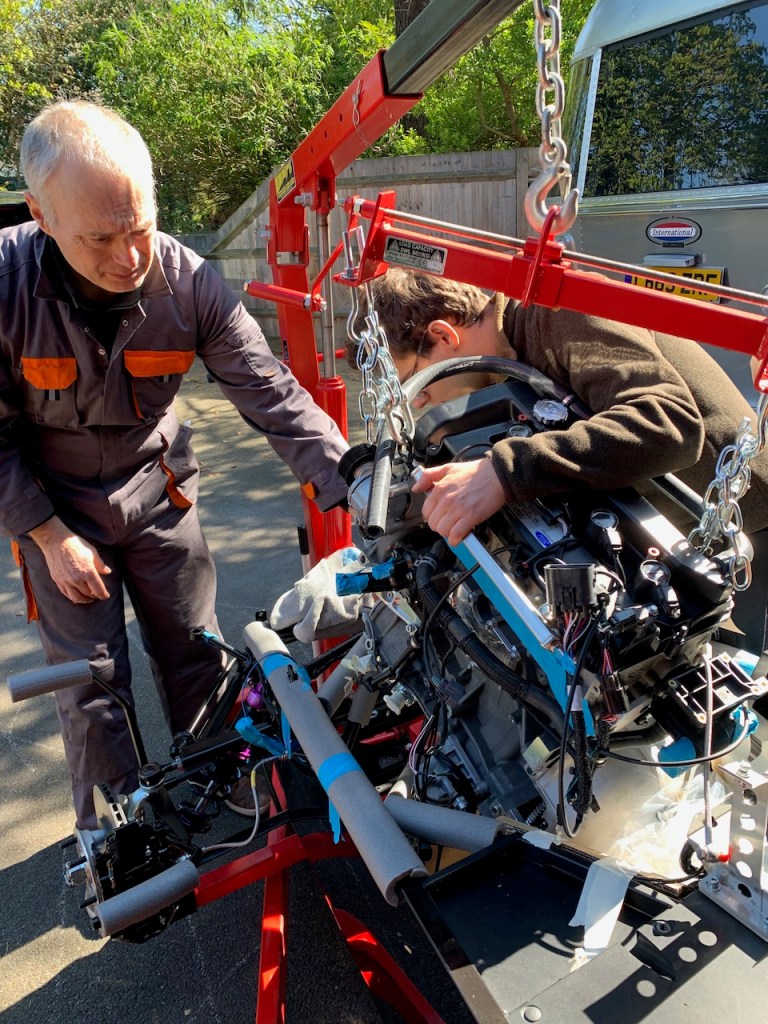
Clearing the front chassis members…just 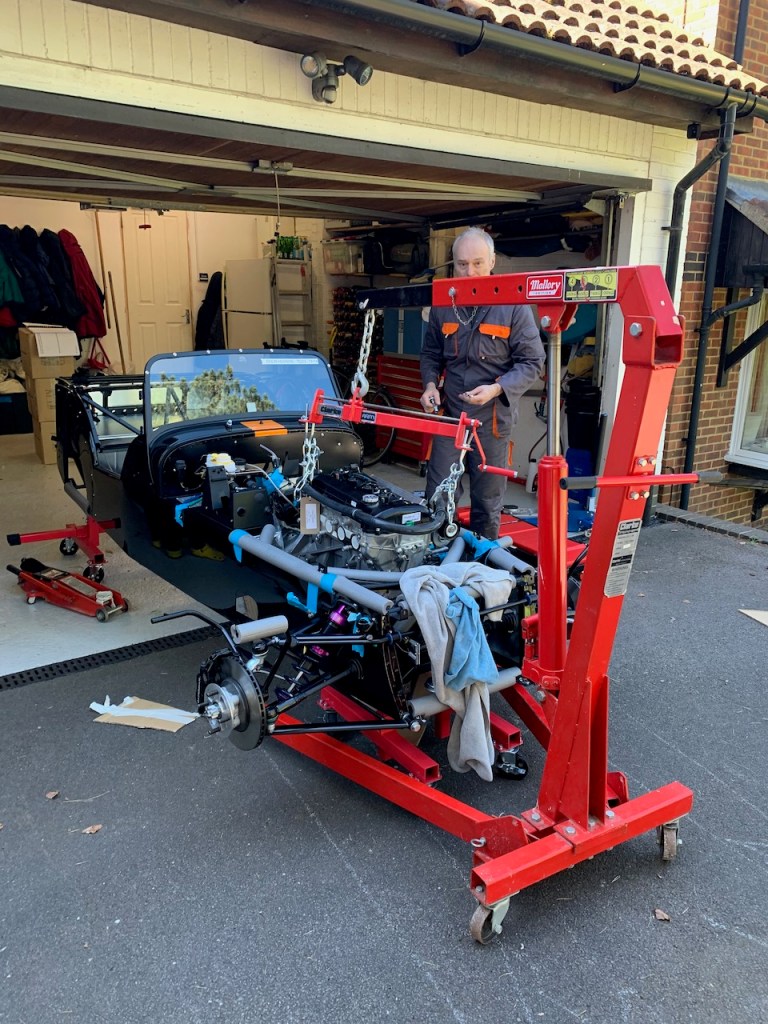
Almost there
Fitted the engine mounts at this stage 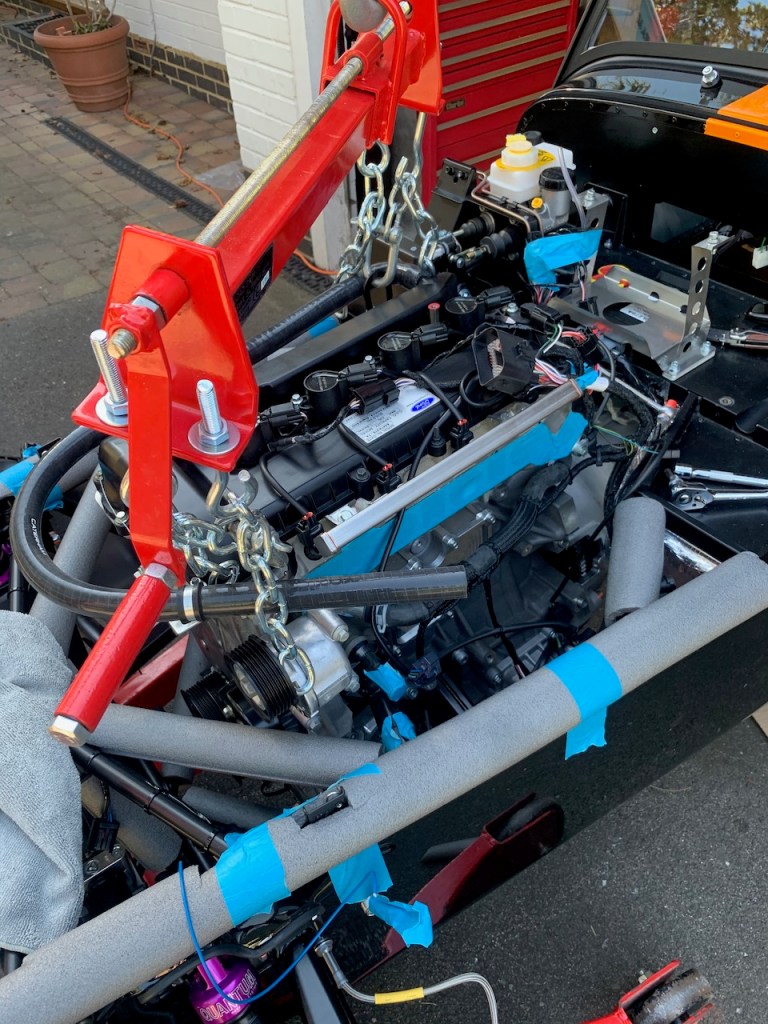
on both sides
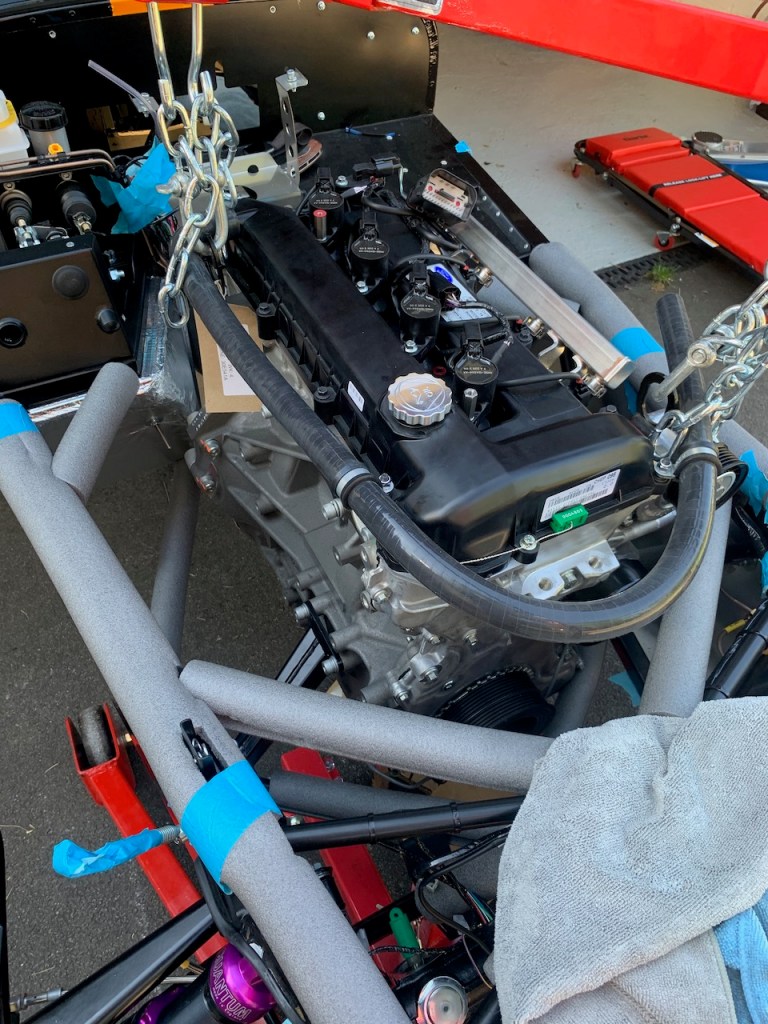
Checking clearances in the engine bay 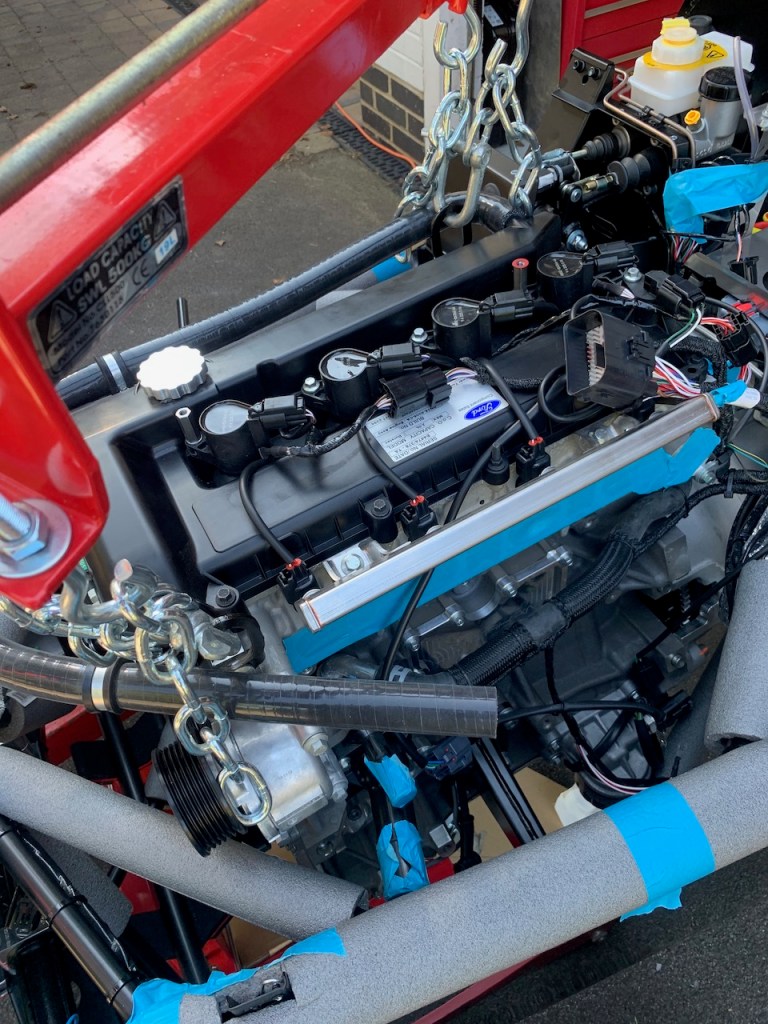
It is a tight fit 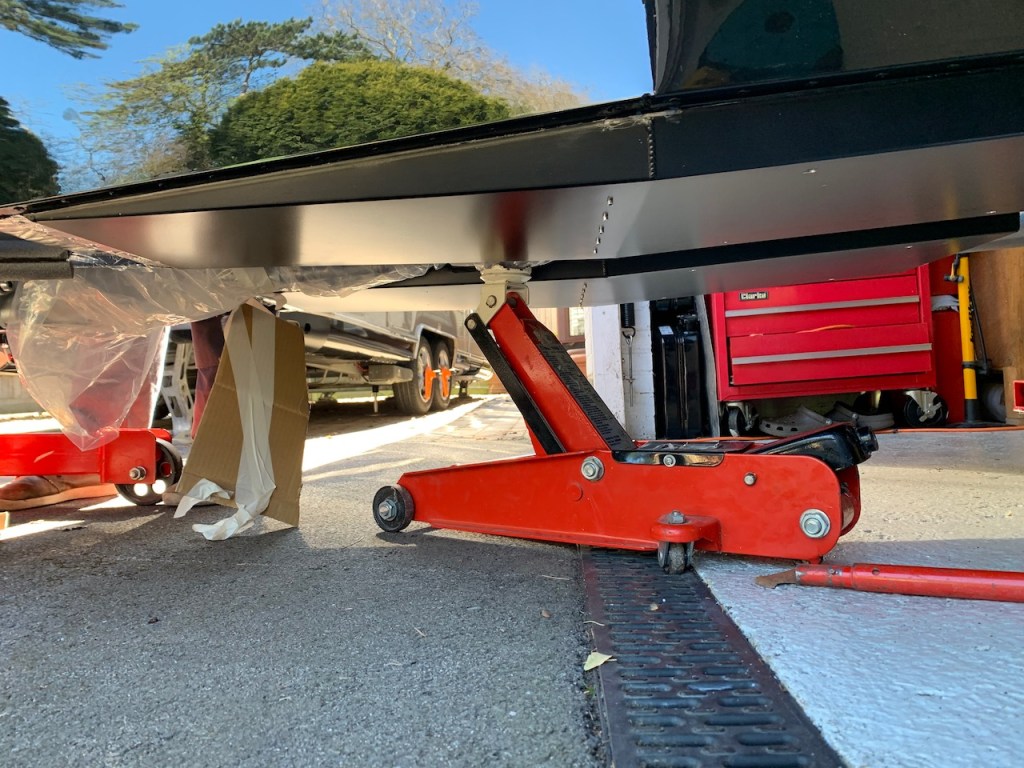
Trolley jack used to help the gearbox clear a chassis member 
Gear box is a really tight fit ! 
Gently tighten the mounting bots on either side… 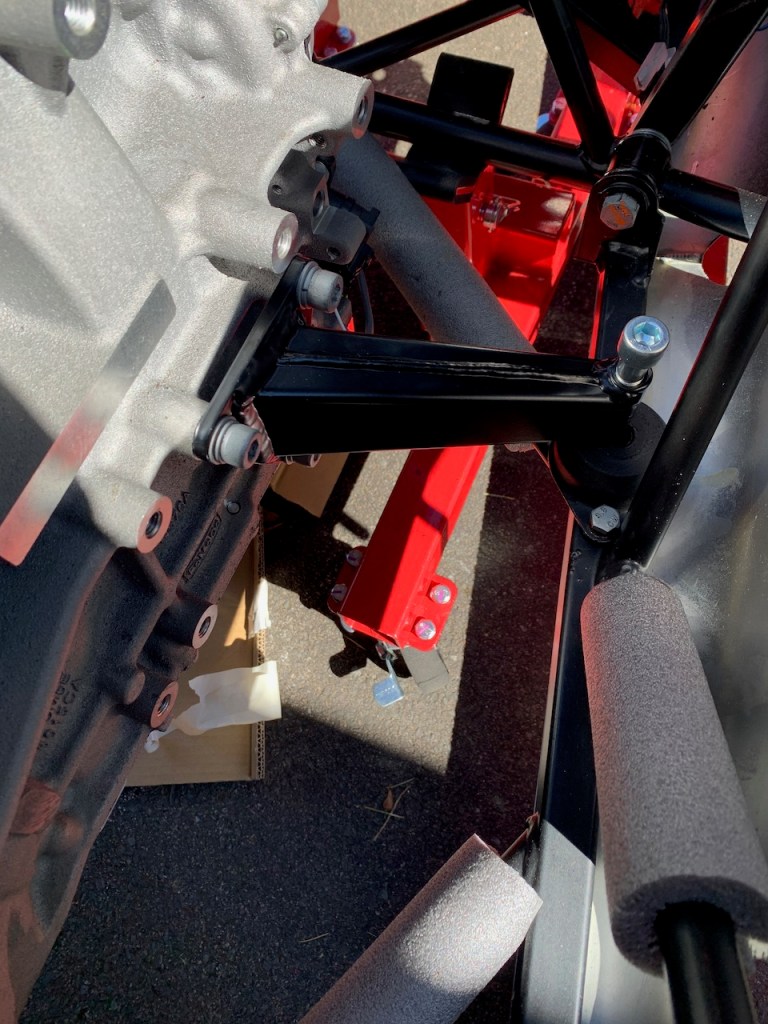
…to pull the engine into position 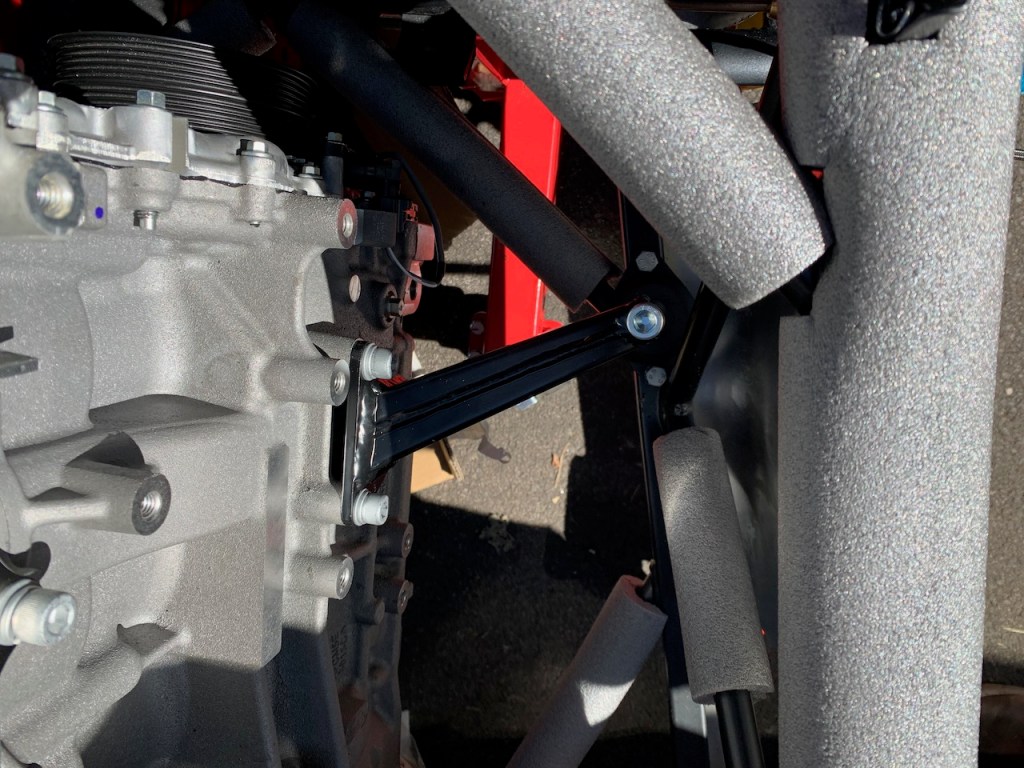
It will go 
In place 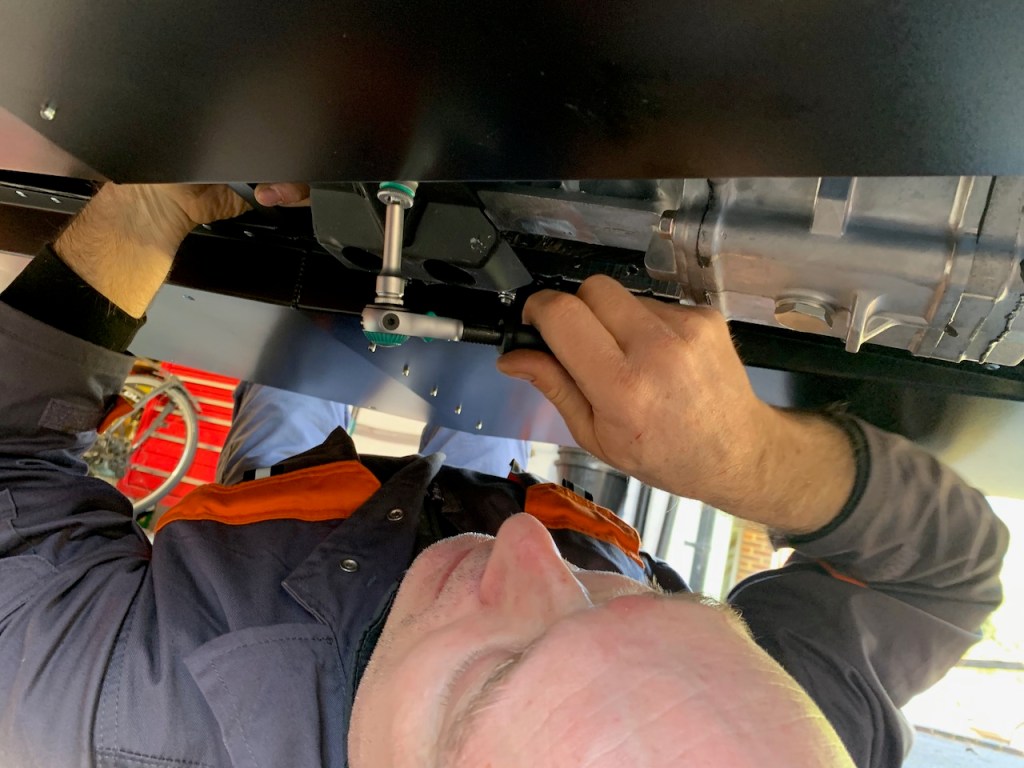
Gearbox mount 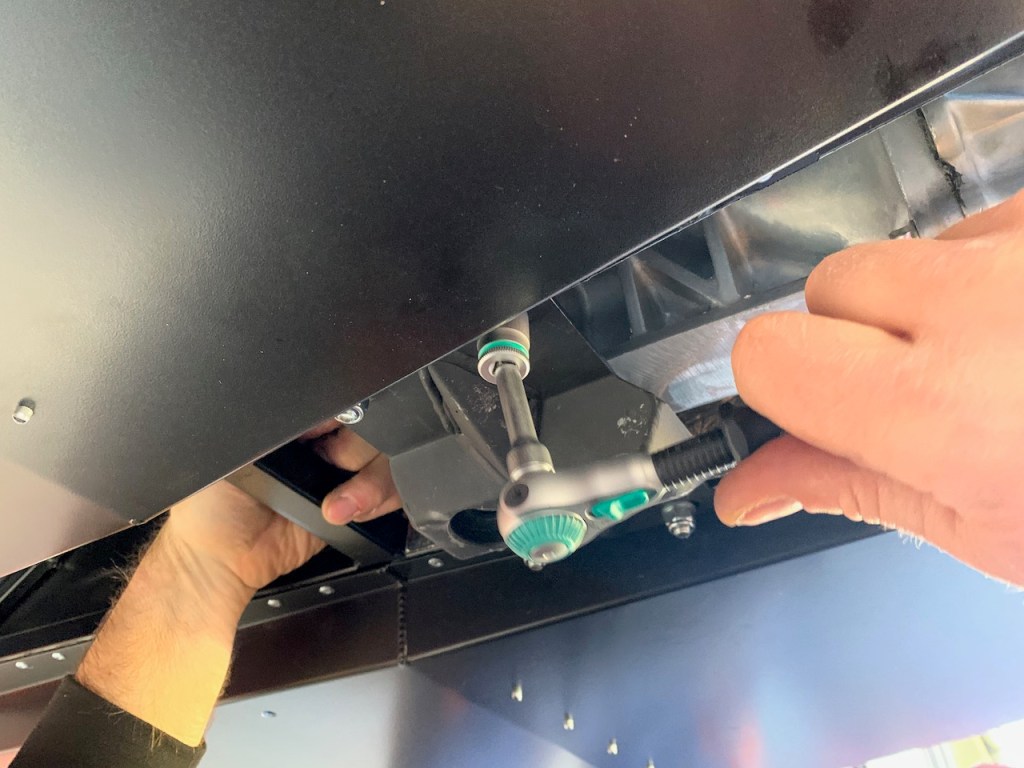
This took several attempts 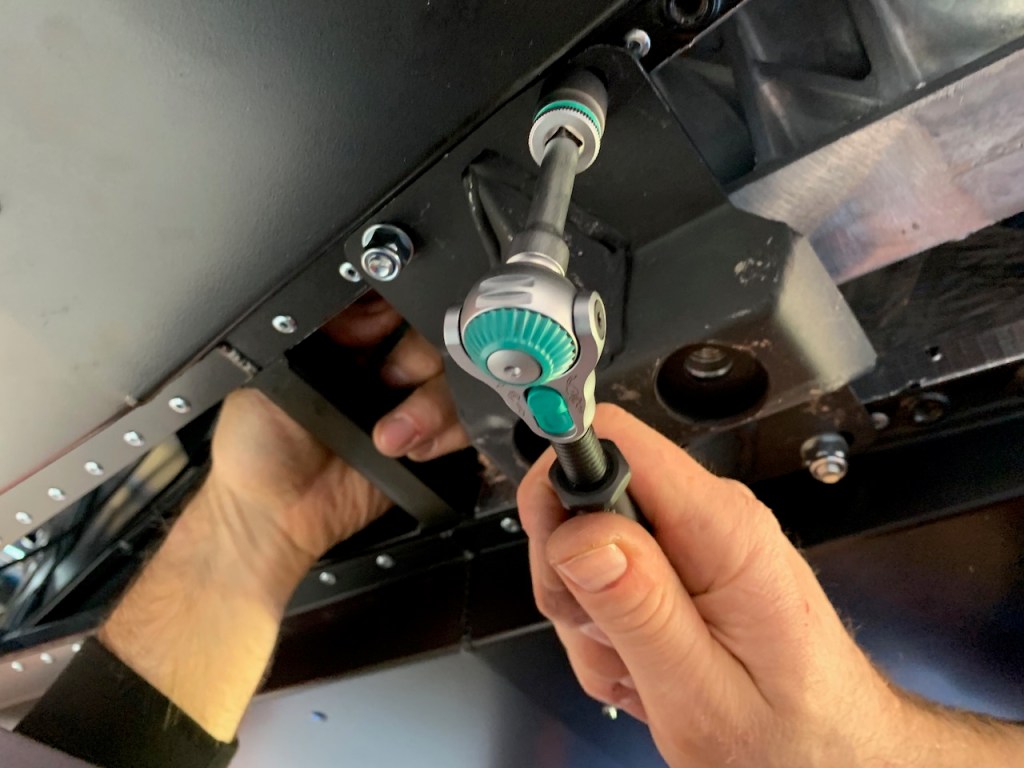
Finally the gearbox is secure 
All done 
Back in the garage
