
Again there was nothing too complicated or difficult about these elements of the build.
Front Anti-rollbar: The blue elastic bushings need to be inserted into their brackets and then this sub-assembly is slid onto the anti-rollbar (ARB) itself (silicone lubricant spray helps a lot).
The anti-rollbar boots need to go on next and I pushed all the parts to the centre of the ARB so that they would be out of the way and not damage the paintwork whilst we were manouevering everything into place.
The plastic balls needed a small amount of de-burring with 400 grade wet and dry in order to fit into the wishbone cups. After that is was simply a case of putting a small amount of grease into the cups, inserting one end of the anti-rollbar into its cup and then doing the same with the other (the bar is quite springy and this required a lot less effort than I thought). With the anti-rollbar fitted all that was left to do was to move the bushings/brackets into position and bolt them in place. The final task is to put a liberal amount of grease over the ball/cup and then slide the boot into place. The boot sits in a groove on the wishbone cup and is held in place with two cable ties.
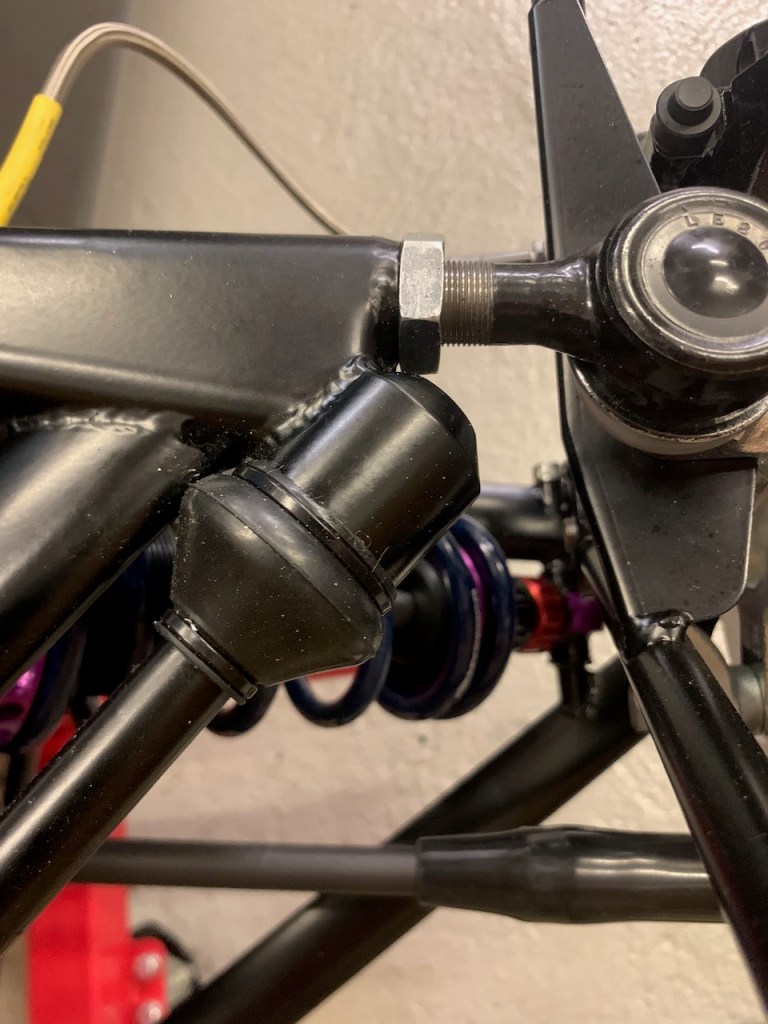
Front ARB boot fitted and cable-tied in place
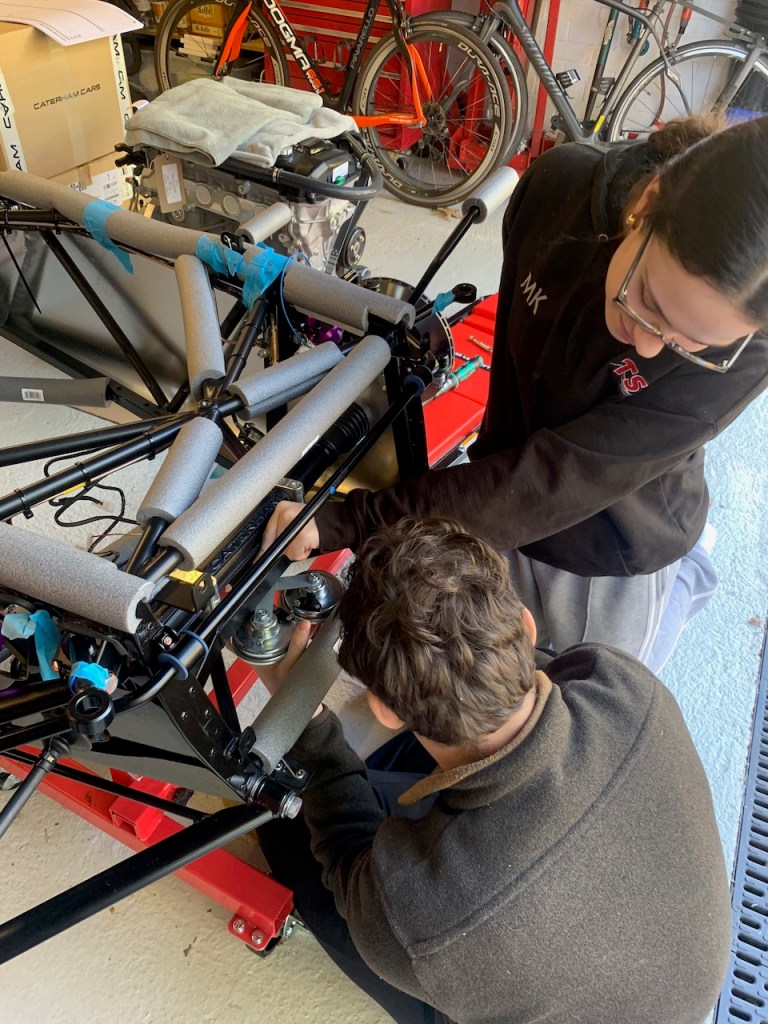
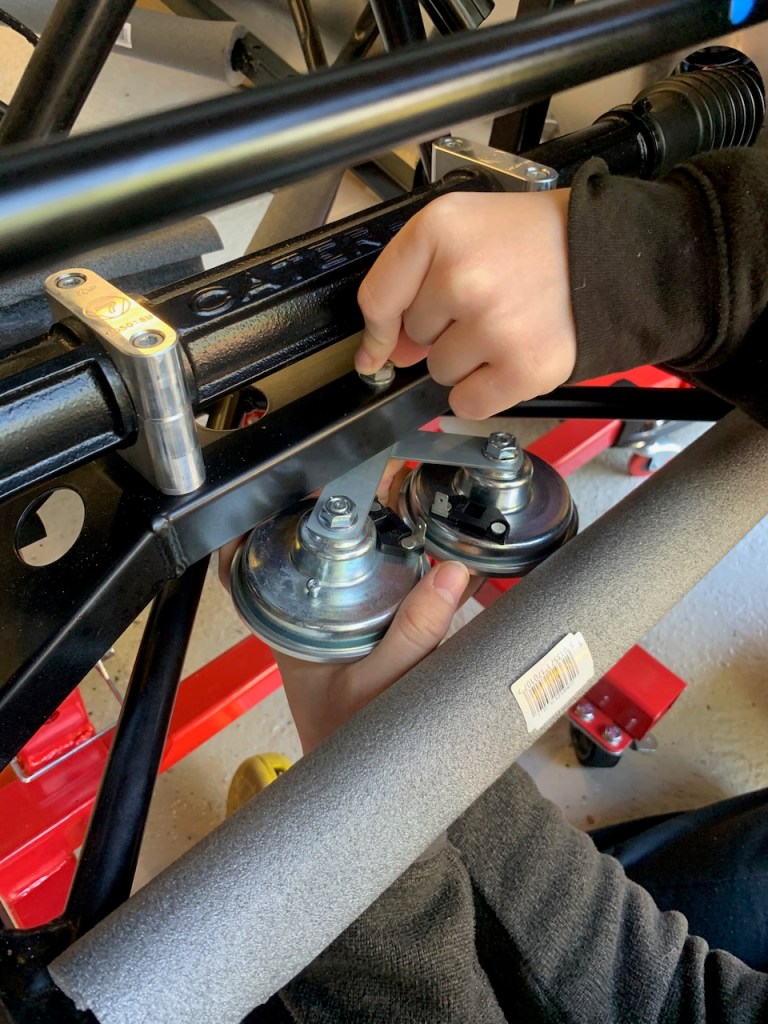
Horns: The horns on a 420R need to be suspended below the steering rack mount and I drilled an 8mm hole in the mount using a step drill as this gives a much cleaner hole.
The horns are identical and all that needs to be done is the loosen one of the mounting brackets and rotate it so that when both are fitted the spade connectors are close together. The horns are fitted using a long bolt and spacer.

Cycle wing-stays: I do not have many pictures of this part of the build but the cycle wing stays are pretty simple to fit, the lower part fits on the back of the stub axle and the top part fits under the top wishbone mount. The only difficulty is that access to the wishbone nut is a little tight.

Cycle wing-stay in place
