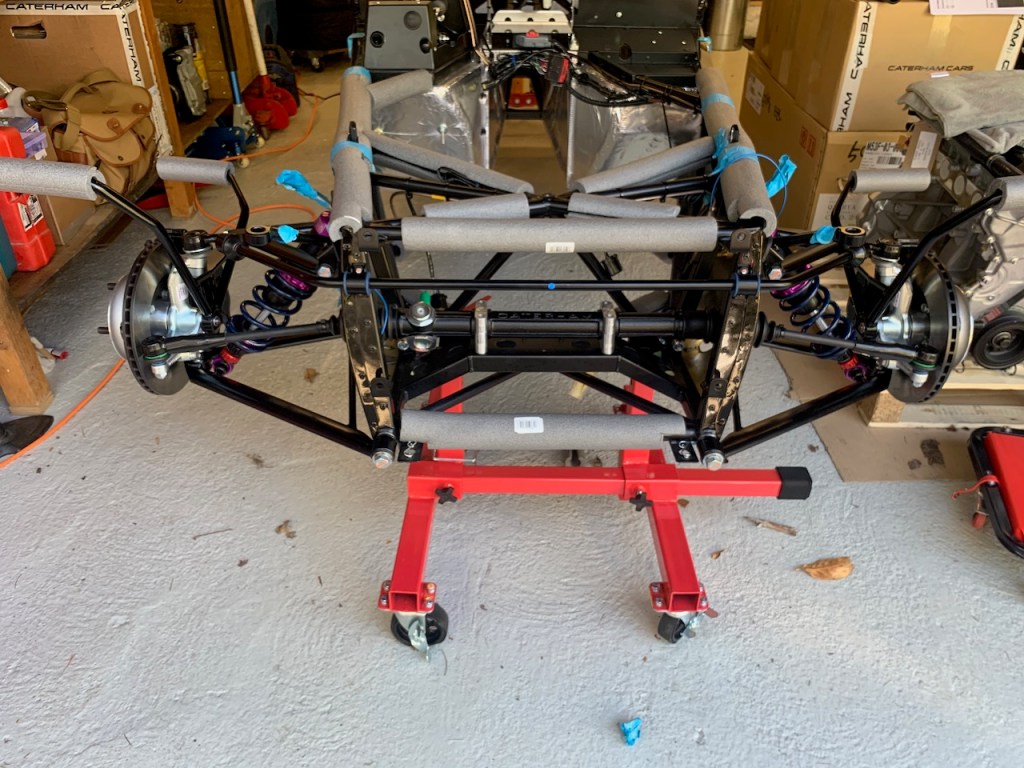
Seven’s are basically assembled from front to back so the first part of this build was to put the front suspension together starting with the front wishbones.
The wishbones are handed so we started with the right hand side. The first job was to find the nuts, bolts and large chamfered washers in the fittings pack. After that we applied copper grease to the bolts and checked they fit in the chassis.
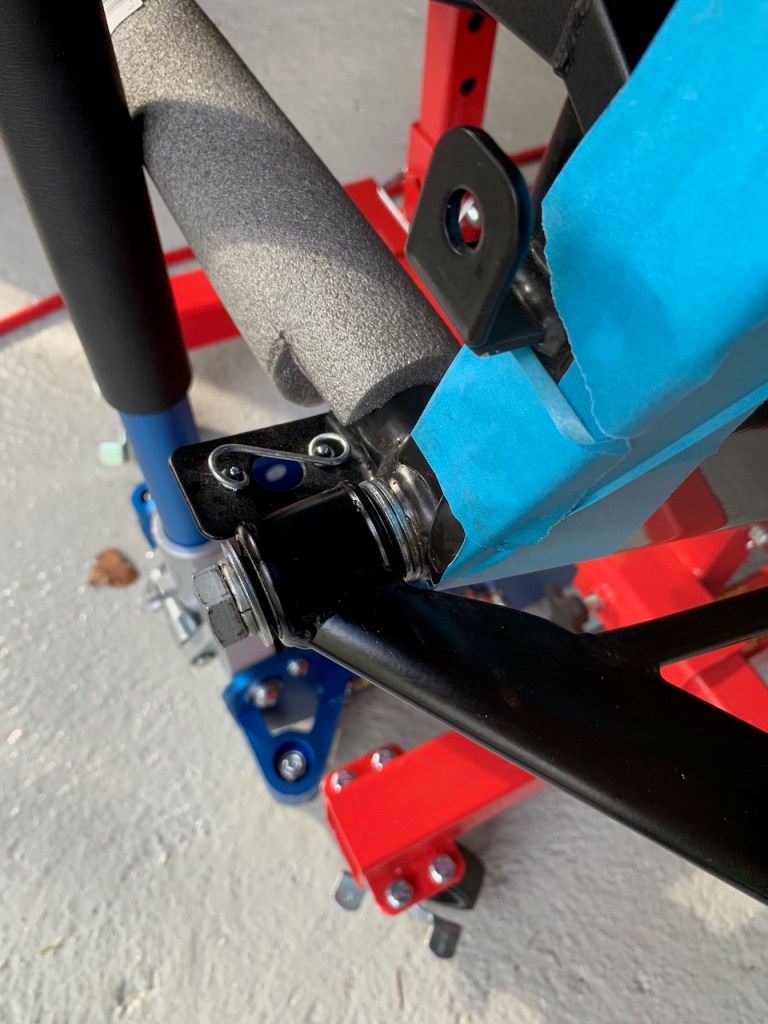
The next step is to fit the chamfered washers. The chamfered washers control the castor and the recommended sequence is to fit 2 either side of the front lower wishbone bushing and 2 between the rear lower wishbone bushing and the chassis mount (ie 2-2-2).
The washers are a really tight fit and needed some persuasion to locate them before the bolt would pass through. The best technique seemed to be to apply plenty of copper grease and use a dead blow hammer to gently tap the washers into place whilst using a pin punch to hold the wishbone in place.
IVA trim is needed around the flared edges of the aluminium skin
Front wishbone mount spacers 
Rear wishbone mount spacers

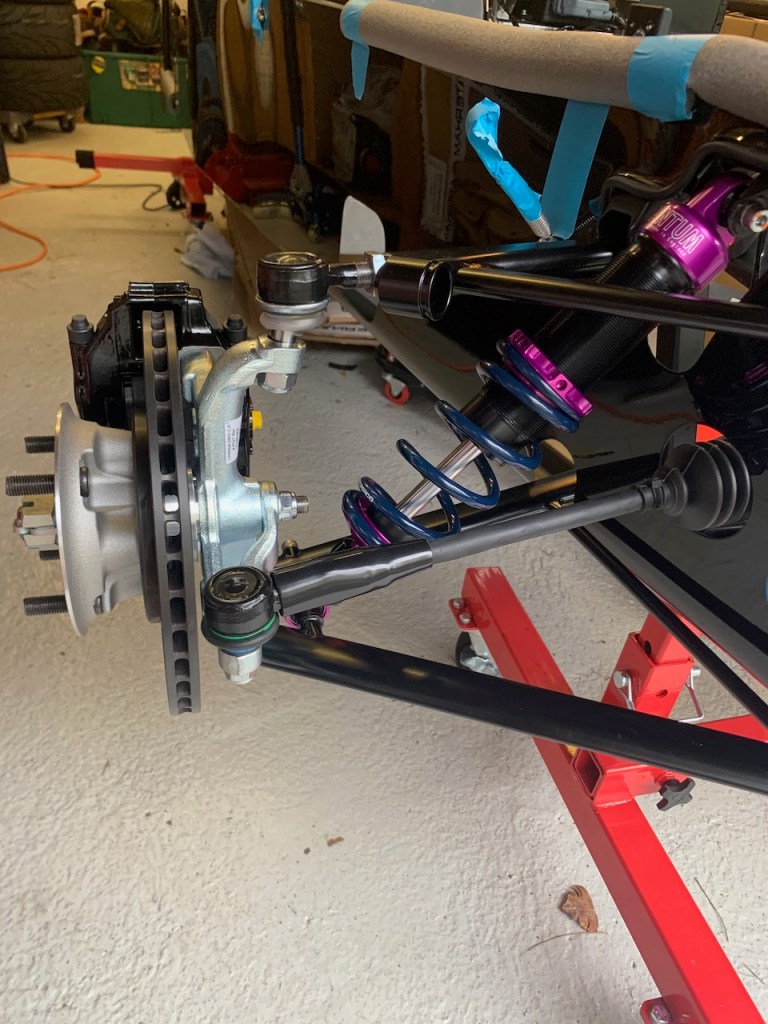
Both sets of wishbones fitted, steering rack up next
The steering rack is relatively easy to install but requires track rod end covers to be fitted before joining to the steering arm. I also decided to protect the exposed steering rod with some heat shrink tubing. This is covered by the gaitor at one end and the track rod cover at the other.
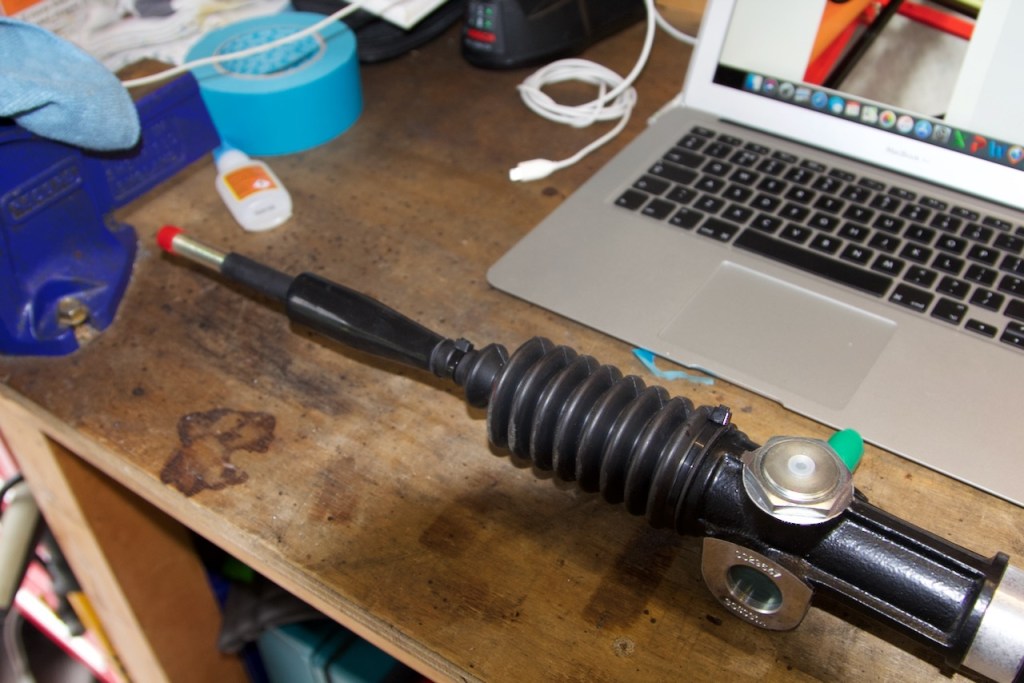
Fitting heat-shrink to protect the exposed metal 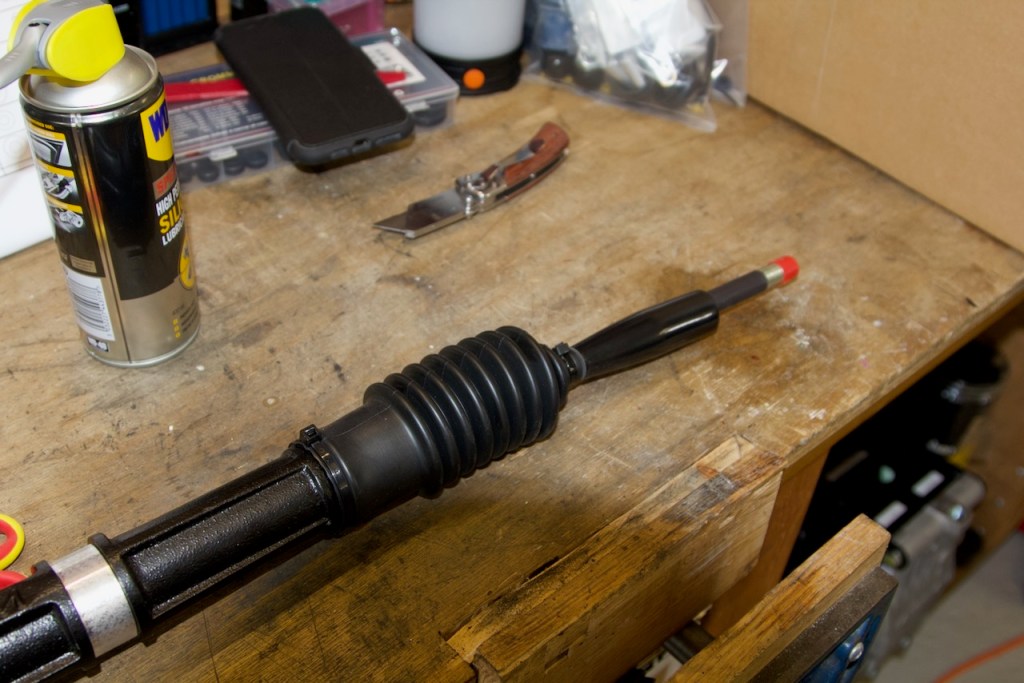
Track rod end sleeve / protector fitted
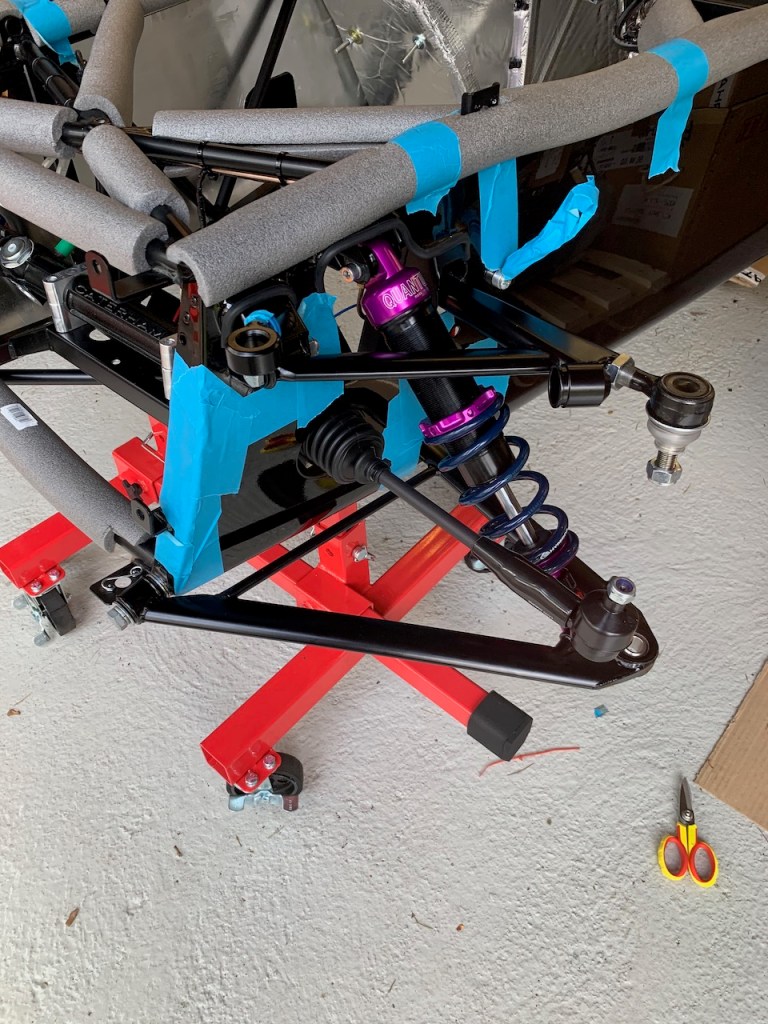
Steering rack and Quantum shock fitted
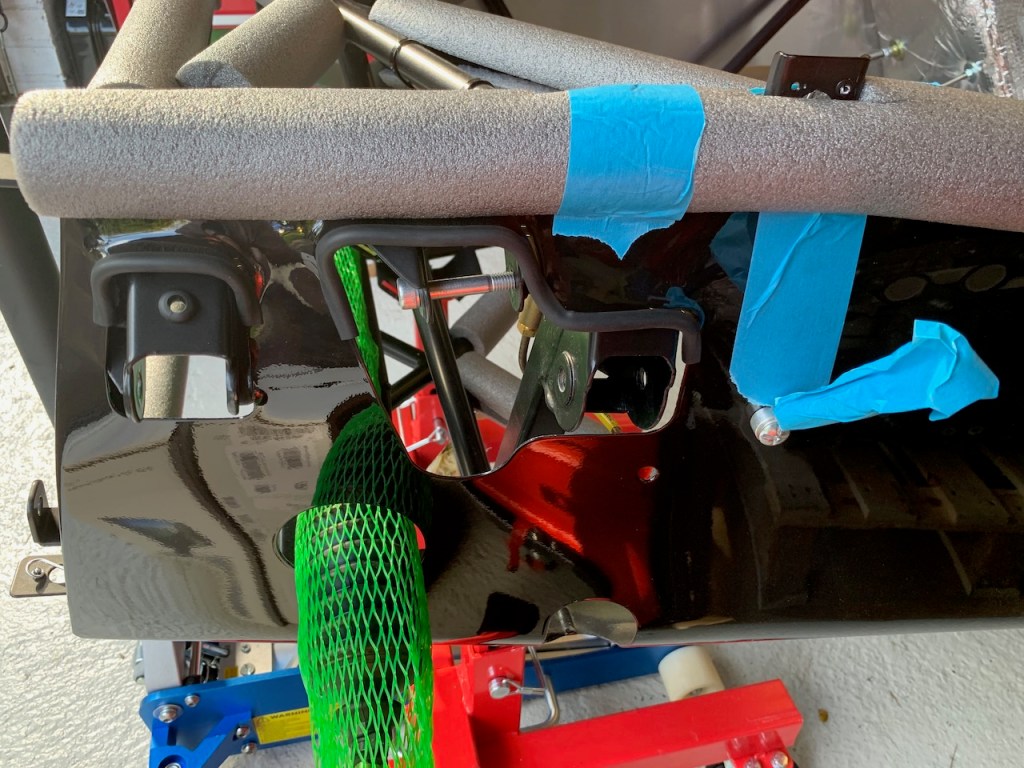
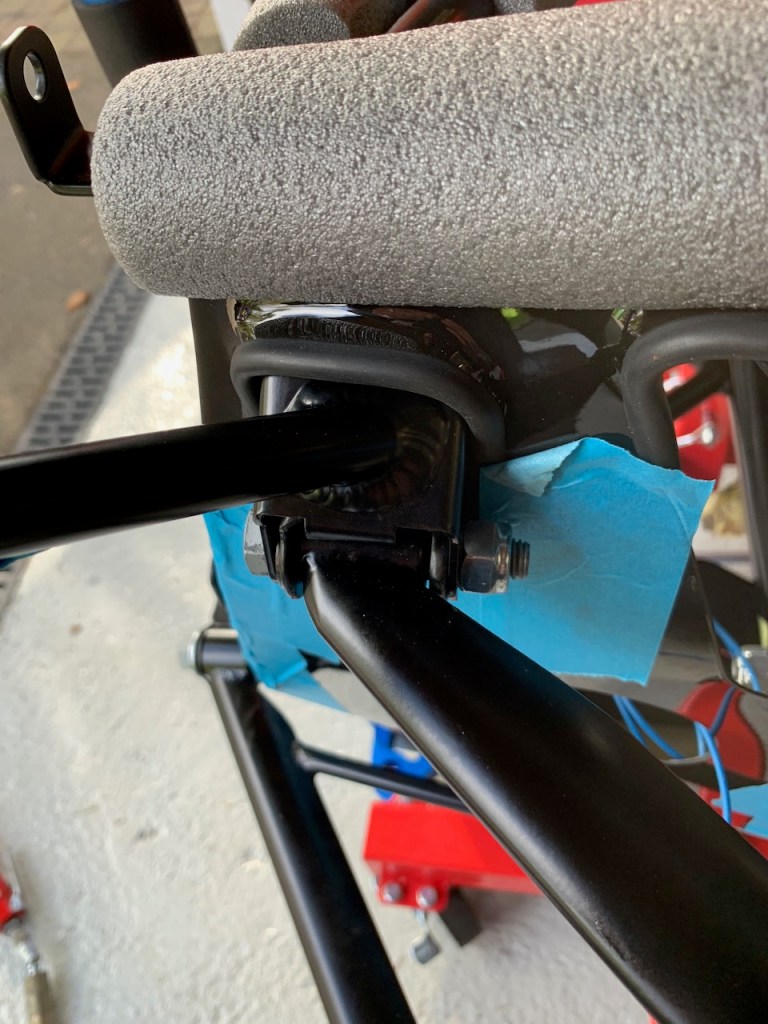
I also fitted a rubber grommet to the chassis mount as the headlight and indicator cables will exit from the underside of the chassis mount and need to be routed to the loom connection. I also passed a guide wire through each headlight mount – not sure it is necessary but it may come in handy later.
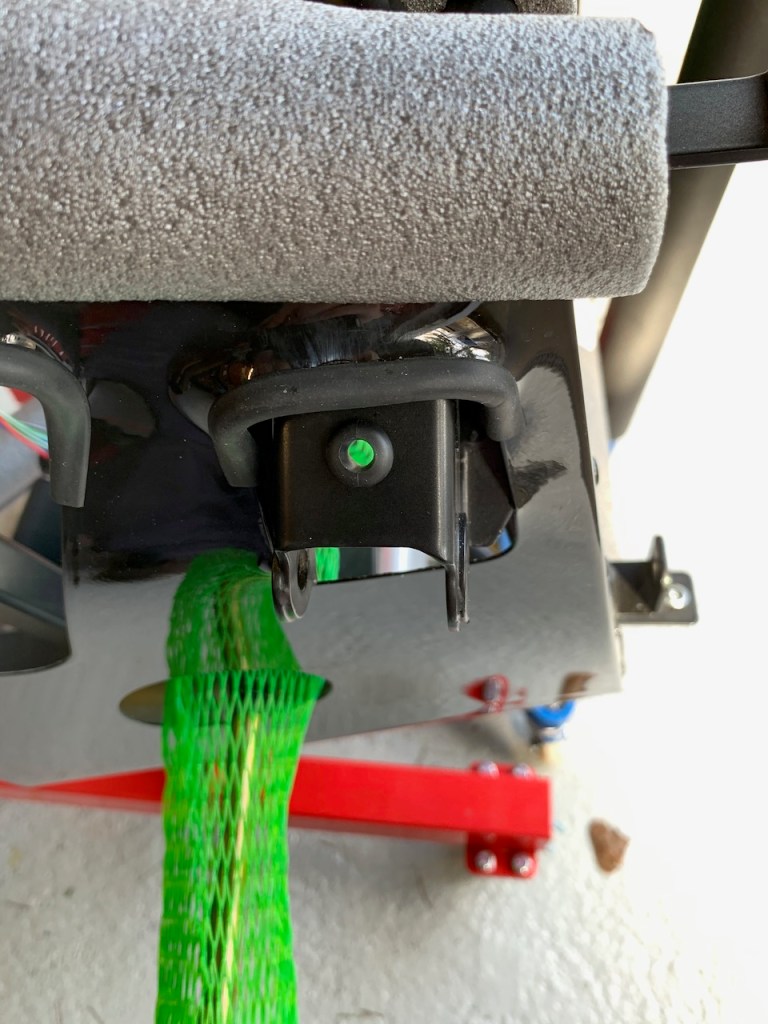
Rubber grommet
The headlight mounts are fitted to the front wishbone mount and required the ‘hook’ on the underside to be opened up a little to allow the front wishbone bolt to pass through.
Headlight mount fitted to front wishbone mount
The uprights are easy to install but the 4-pot callipers need a top-hat bush and ring spacer inserted into the lower wishbone mount.

Upright fitted
The top upright nut will be tightened when the cycle wingstays are fitted so I just loosely fitted the Nyloc nut at this stage.
Upright assembly – pre cyclestay fitting
The lower wishbone bolt needs a half height nut otherwise the nyloc will not engage properly (the IVA inspector needs to see 1 or 2 threads protruding from the nut).

Incorrect full size nut 
Correct half height nut
The next part of the build is to fit the anti-rollbar, horns and cycle wingstays.
